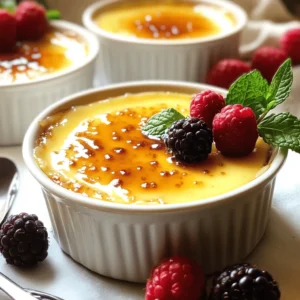
Vanilla Bean Crème Brûlée
Indulge in the classic delight of Vanilla Bean Crème Brûlée with our easy recipe! This creamy custard is infused with rich vanilla flavor and topped with a perfectly caramelized sugar crust. Get ready to impress your guests with this elegant dessert that’s surprisingly simple to make.Your sweet tooth will thank you!