
LATEST RECIPES


LET'S GET COOKING!
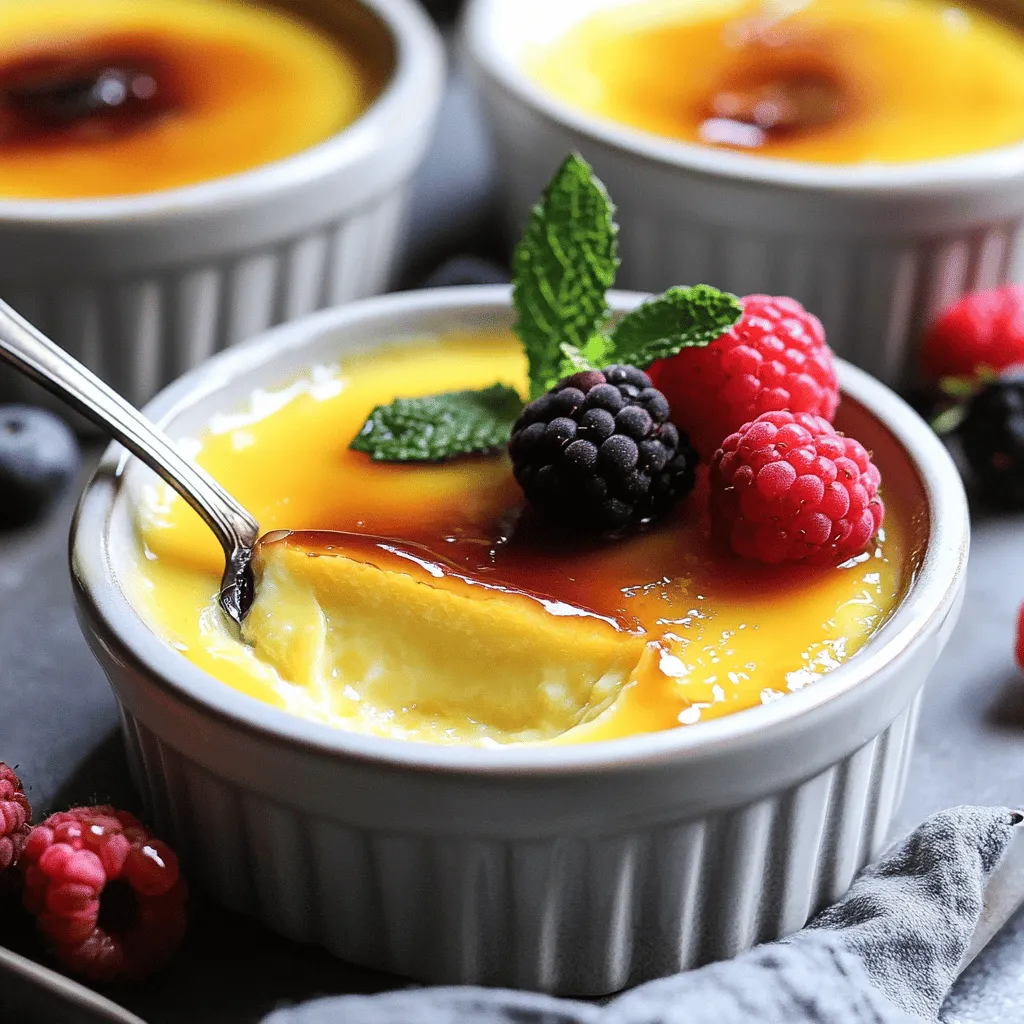
Vanilla Bean Crème Brûlée Rich and Creamy Delight
Indulging in a perfectly made Vanilla Bean Crème Brûlée feels like a taste of heaven. This dish offers rich and creamy delight with its smooth...
Read Full Recipe →