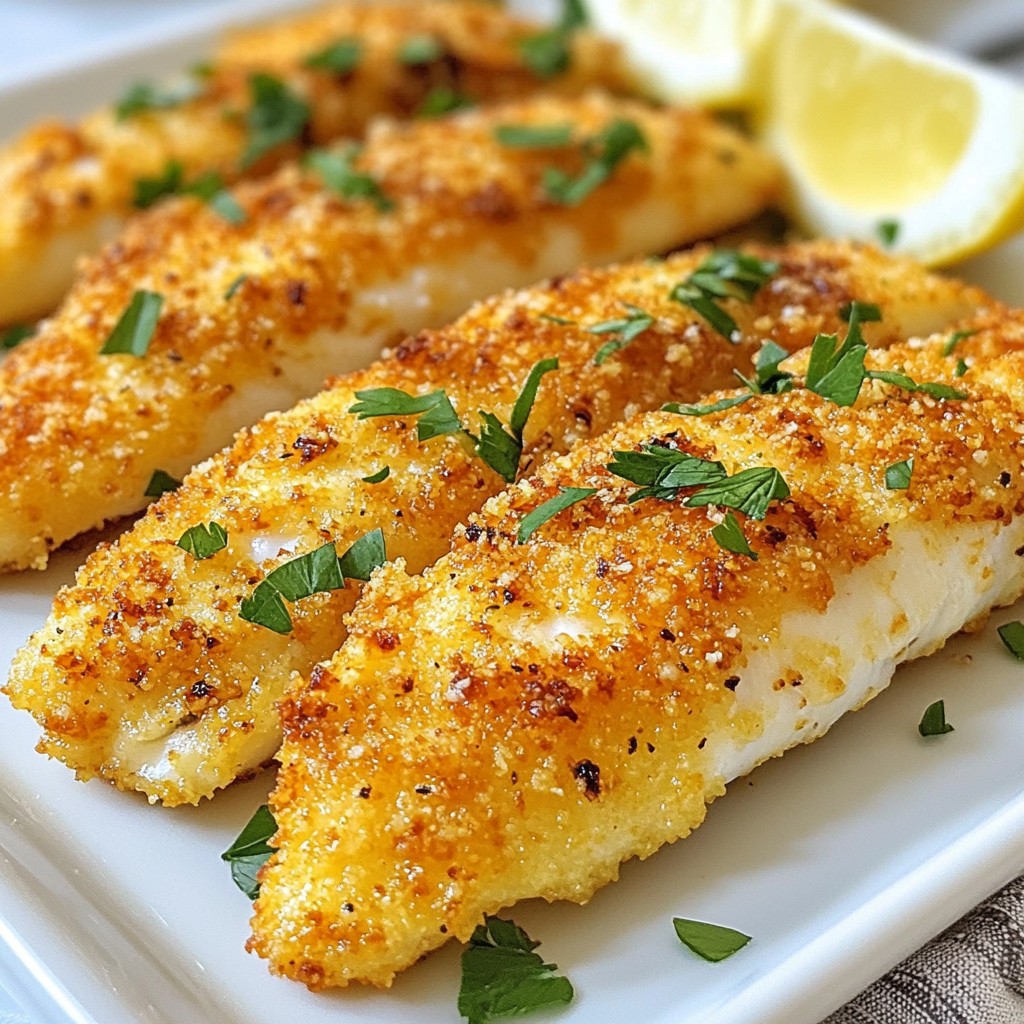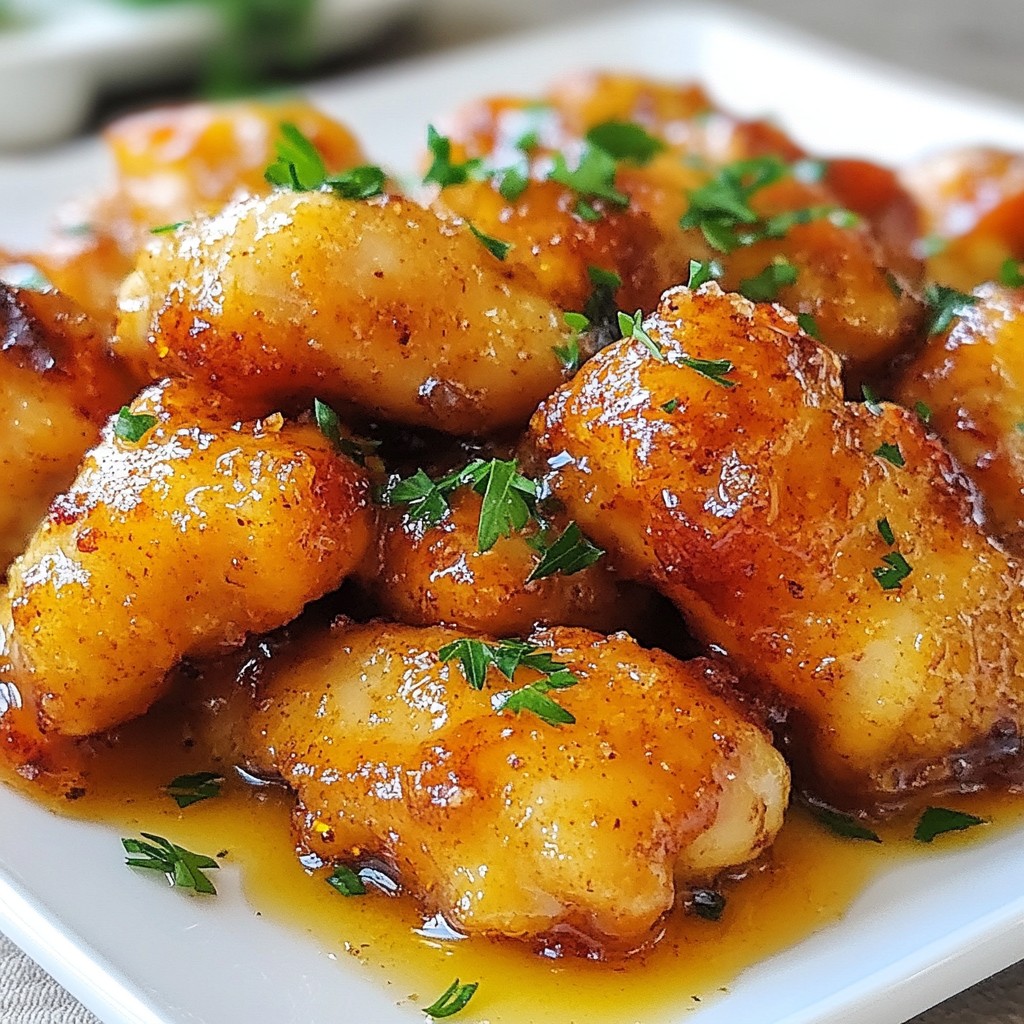
Are you ready to elevate your dinner game? This Crispy Honey Butter Chicken recipe is simple, tasty, and guaranteed to impress. With its sweet and savory glaze, each bite will leave you craving more. Plus, I'll guide you through every step, ensuring you achieve that perfect crunch! From choosing your ingredients to storage tips, this guide has everything you need for a delicious meal. Let’s dive in and make something amazing together!
Why I Love This Recipe
- Easy Preparation: This recipe is straightforward and quick, making it perfect for weeknight dinners or when you have guests over.
- Irresistible Flavor: The combination of crispy fried chicken and sweet honey butter sauce creates a delicious contrast that everyone loves.
- Customizable Heat: You can easily adjust the cayenne pepper for your desired spice level, making it suitable for all palates.
- Perfect for Sharing: This dish is not only delicious but also visually appealing, making it a fantastic centerpiece for any gathering.
Ingredients
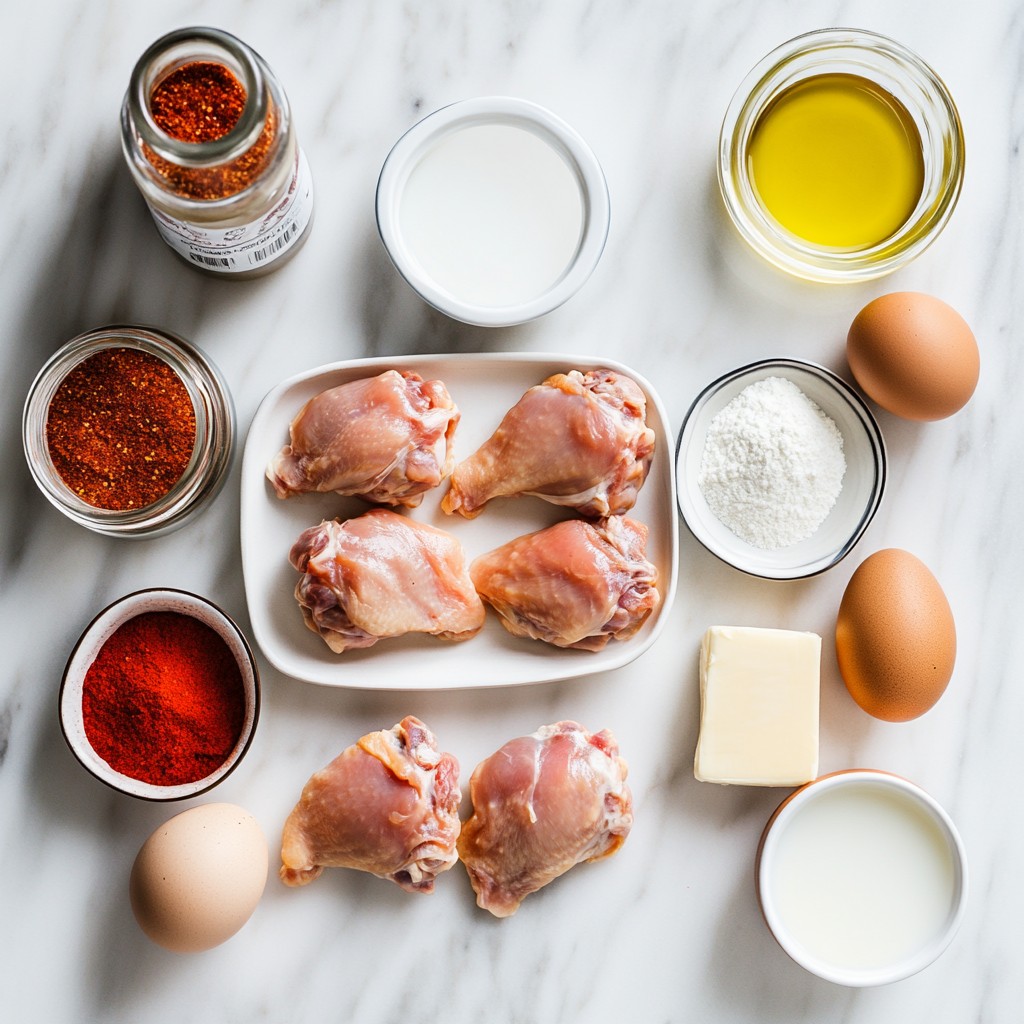
Main Ingredients for Crispy Honey Butter Chicken
- 1 lb boneless, skinless chicken thighs
- 1 cup all-purpose flour
- 1 teaspoon garlic powder
- 1 teaspoon onion powder
- 1 teaspoon smoked paprika
- 1/2 teaspoon cayenne pepper (optional, for heat)
- 1 teaspoon salt
- 1/2 teaspoon freshly ground black pepper
- 2 large eggs
- 1/4 cup milk
- Vegetable oil, for frying
The chicken thighs give this dish a juicy and tender bite. The flour mix adds crunch. Garlic and onion powders enhance the flavor. Smoked paprika gives a nice warmth. If you like heat, add cayenne pepper. Salt and black pepper bring it all together. The eggs and milk make a great batter.
Ingredients for Honey Butter Sauce
- 1/2 cup unsalted butter
- 1/3 cup pure honey
- 1 teaspoon vanilla extract
- A pinch of fine sea salt
The honey butter sauce makes this dish shine. Unsalted butter creates a rich base. Pure honey adds sweetness; it makes every bite special. Vanilla extract rounds out the flavor. A pinch of salt helps balance all the sweet notes.
Recommended Cooking Oils
- Vegetable oil
- Canola oil
- Peanut oil
For frying, I recommend vegetable oil. It has a high smoke point and is easy to find. Canola oil works well too. Peanut oil adds a nice flavor, especially if you like Asian cuisine. Choose any of these oils for the best crispy texture.
Feel free to adjust the ingredients to suit your taste, but this basic list will guide you to a delicious dish!
Step-by-Step Instructions
Preparing the Chicken
Start by cutting the chicken thighs into bite-sized pieces. Make sure to use boneless, skinless thighs for the best taste. After cutting, pat the pieces dry with paper towels. This step helps the chicken get crispy when fried. Moisture can make the chicken soggy, and we want it to be crunchy.
Setting Up the Breading Station
Now, let’s set up the breading station. In a wide, shallow bowl, combine the following:
- 1 cup all-purpose flour
- 1 teaspoon garlic powder
- 1 teaspoon onion powder
- 1 teaspoon smoked paprika
- 1/2 teaspoon cayenne pepper (optional)
- 1 teaspoon salt
- 1/2 teaspoon black pepper
In another bowl, whisk together 2 large eggs and 1/4 cup milk until frothy. This mix helps the flour stick to the chicken.
Perfecting the Frying Process
Next, heat vegetable oil in a large frying pan or deep skillet. Pour enough oil to reach about 1/2 inch deep. Heat the oil over medium-high heat until it’s 350°F (175°C). To test if the oil is ready, drop in a bit of batter. If it sizzles, you’re good to go!
Carefully add the breaded chicken pieces into the hot oil. Do this in batches to avoid crowding the pan. Fry for 4-5 minutes on each side, until golden brown. Use a slotted spoon to take out the chicken and let it drain on a paper towel. This keeps it crispy and removes excess oil.
Tips & Tricks
Achieving Maximum Crispiness
To get your chicken super crispy, start with dry chicken. After cutting the chicken thighs, pat them with paper towels. This step helps remove moisture. When breading, make sure to coat each piece well. Press the flour mix onto the chicken firmly. This helps the coating stick. Fry in hot oil, around 350°F. If the oil is too cool, the chicken will turn soggy. Fry in small batches to avoid crowding. This keeps the temperature steady and the chicken crispy.
Flavor Enhancements and Seasoning Suggestions
To boost the flavor of your chicken, consider adding herbs. Dried thyme or oregano works well. You can also mix in some black pepper for extra kick. For a spicy twist, add more cayenne pepper or a dash of hot sauce to the egg wash. The honey butter sauce also plays a big role in taste. For added depth, try using brown butter. Just melt the butter longer until it turns golden brown before mixing in the honey and vanilla.
Tools and Equipment for Best Results
Using the right tools makes cooking easier and more fun. A large frying pan or deep skillet is key for frying. A thermometer helps ensure your oil is the right temperature. Use a slotted spoon for easy transfer of fried chicken. This keeps your hands clean and helps drain oil. A wide bowl for the breading station makes it simple to coat the chicken. Finally, a sturdy tray for the breaded chicken is great for holding them before frying.
Pro Tips
- Pat the Chicken Dry: Ensuring the chicken is completely dry before breading will help achieve a golden, crispy crust during frying.
- Maintain Oil Temperature: Use a thermometer to monitor the oil temperature. If the oil is too hot, the chicken will burn on the outside while remaining raw inside.
- Let the Chicken Rest: After frying, allow the chicken to rest on a paper towel-lined plate for a few minutes to let excess oil drain off and maintain crispiness.
- Enhance the Sauce: For an extra kick, consider adding a splash of hot sauce to the honey butter sauce for a sweet and spicy flavor combination.
Variations
Spicy Honey Butter Chicken Recipe Adjustments
If you want a kick, add more cayenne pepper. You can use up to 1 teaspoon. This adds extra heat without changing the texture. You can also mix in chili flakes for more spice. Another option is to add hot sauce to the honey butter sauce. This gives a nice balance of sweet and spicy.
Alternative Proteins
You can switch the chicken with other proteins. Tofu works well for a vegetarian dish. Just press it to remove water. Then cut it into pieces and follow the same breading steps. Shrimp is another great choice. Use medium-sized shrimp and adjust frying time to just 2-3 minutes. Both options create a tasty twist on the classic recipe.
Different Sauces and Glazes
Feel free to experiment with different sauces. Try a teriyaki glaze for an Asian twist. Mix soy sauce with honey and a bit of ginger. You can also use barbecue sauce for a smoky flavor. If you like tang, a citrus glaze will brighten your dish. Just mix orange juice and honey, then drizzle it over the chicken.
Storage Info
Storing Leftovers Properly
To keep your crispy honey butter chicken fresh, let it cool first. Place leftovers in an airtight container. This way, it won't dry out. Store in the fridge for up to three days. If you want to keep it longer, freezing is a great option.
Reheating Tips to Maintain Crispiness
Reheat the chicken in an oven to keep it crispy. Preheat your oven to 350°F (175°C). Place the chicken on a baking sheet and cover it loosely with foil. Bake for about 10-15 minutes. This method helps the chicken regain its crunch. You can also use an air fryer for a quicker option. Set it to 375°F (190°C) and heat for about 5 minutes.
Freezing Instructions
If you want to freeze your chicken, do it before adding the honey butter sauce. Wrap each piece in plastic wrap and then in foil. This adds extra protection against freezer burn. Store it in the freezer for up to three months. When ready to eat, thaw in the fridge overnight before reheating. Enjoy the same great taste as when it was fresh!
FAQs
How can I make the chicken gluten-free?
To make crispy honey butter chicken gluten-free, swap all-purpose flour for a gluten-free flour blend. Many brands offer good options. Use cornstarch or almond flour as alternatives. Make sure the chicken broth, if used, is gluten-free too.
Can I use chicken breasts instead of thighs?
Yes, you can use chicken breasts. They will be leaner. Keep in mind that chicken thighs are juicier and more flavorful. If using breasts, cut them into similar bite-sized pieces for even cooking. Adjust the frying time if needed, as breasts may cook faster.
What sides pair well with crispy honey butter chicken?
Crispy honey butter chicken goes well with many sides. Here are some great options:
- Creamy mashed potatoes
- Coleslaw for crunch
- Steamed green beans
- Buttered corn
- Rice or quinoa for a filling base
These sides add balance to the meal and enhance the flavors of the chicken.
In this blog post, we explored how to make crispy honey butter chicken. We covered the main ingredients, from chicken to the honey butter sauce, and the best cooking oils. You learned the step-by-step process, tips for perfect crispiness, and different flavor variations.
Remember, storage is key to keeping your chicken tasty. Proper reheating maintains that crunch. Enjoy making this dish and impressing your friends and family!