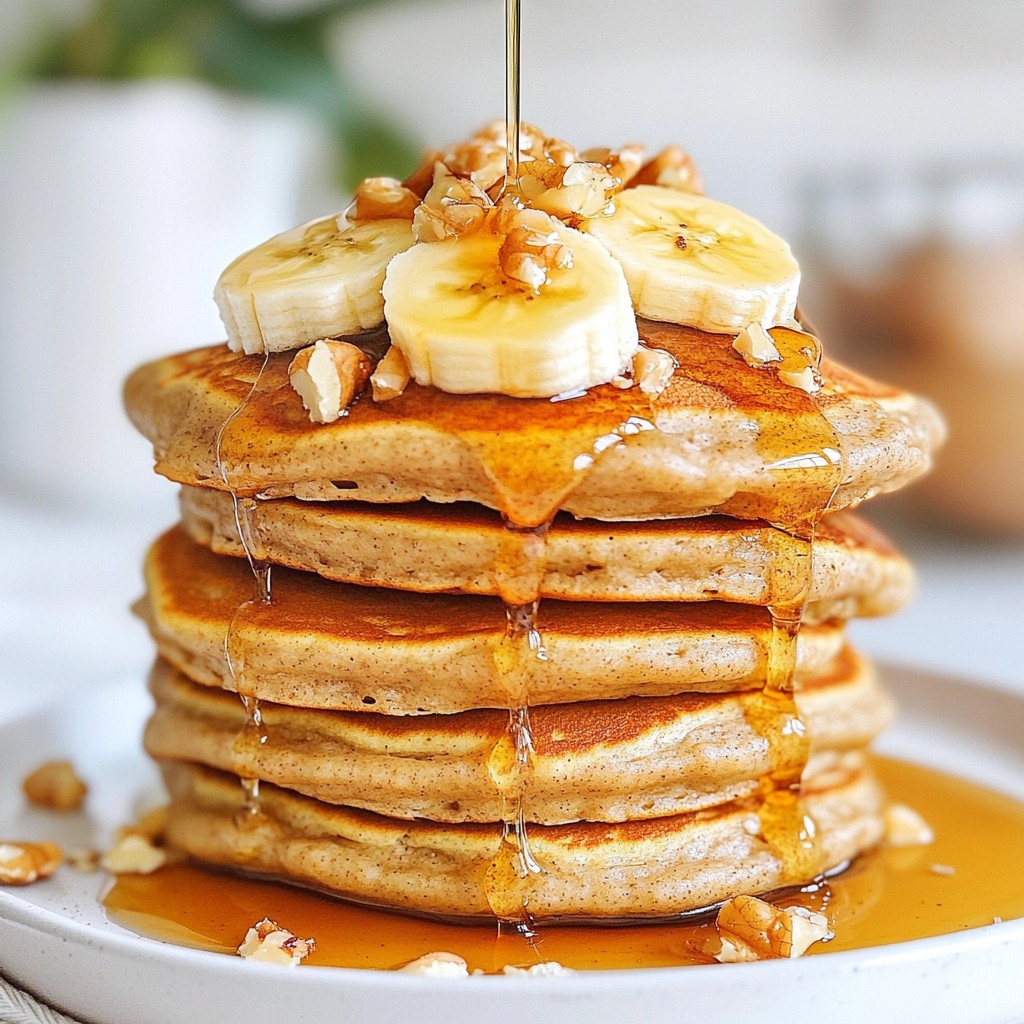
If you love banana bread and pancakes, you’re in for a treat! My Banana Bread Protein Pancakes are easy to make, delicious, and packed with protein. These fluffy pancakes combine the sweet flavor of ripe bananas with healthy ingredients. They make a perfect breakfast or snack. So, grab your mixing bowl, and let’s whip up a batch of these tasty pancakes that fit your healthy lifestyle!
Error: Connection error.
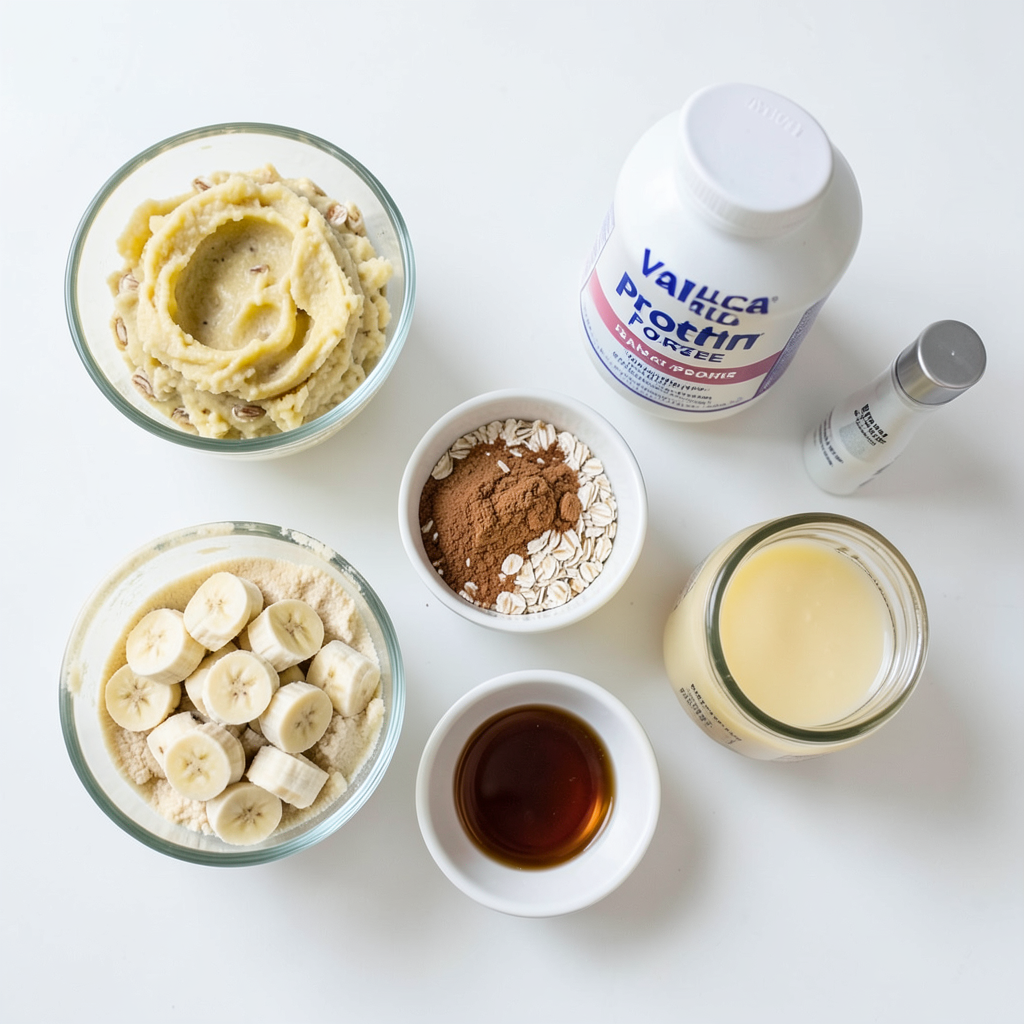
Ingredients
Here’s what you need to make these banana bread protein pancakes:
- 1 ripe banana
- 1 cup rolled oats (ground into oat flour)
- 1 scoop vanilla protein powder
- 1 teaspoon baking powder
- 1 teaspoon ground cinnamon
- ½ cup unsweetened almond milk
- 1 tablespoon maple syrup (optional)
- 1 large egg (or ½ cup applesauce for vegan)
- A pinch of salt
- Cooking spray or coconut oil
Gather these ingredients before you start. Each one plays a key role in making your pancakes tasty and nutritious. The ripe banana adds natural sweetness and moisture. Oats give the pancakes a hearty texture and provide fiber. Protein powder boosts the protein content, making these pancakes a great breakfast option.
Cinnamon adds warmth and flavor, while almond milk keeps it dairy-free. If you want a touch of sweetness, maple syrup is perfect. The egg helps bind everything together, but you can swap it for applesauce if you prefer a vegan option. Finally, a pinch of salt enhances all the flavors.
With these ingredients on hand, you are ready to create a simple yet delicious treat that offers both flavor and nourishment.
Step-by-Step Instructions
Preparing the Oat Flour
To start, take your rolled oats and place them in a blender or food processor. Blend them until they turn into fine flour. This homemade oat flour makes the pancakes light and fluffy. Once done, pour the oat flour into a large mixing bowl.
Mixing the Dry Ingredients
Next, add your mashed banana to the oat flour. Then, mix in the vanilla protein powder, baking powder, ground cinnamon, and a pinch of salt. Stir everything together until the ingredients blend well. This mix brings all the flavors of banana bread into your pancakes.
Combining Wet Ingredients
In a separate bowl, whisk together the unsweetened almond milk, maple syrup (if you want extra sweetness), and either the large egg or the applesauce for a vegan option. Make sure this mixture becomes smooth and well combined. It adds moisture and richness to your pancakes.
Mixing Wet and Dry Ingredients
Now, slowly pour the wet mixture into the bowl with the dry ingredients. Stir gently until the batter is just combined. Aim for a slightly thick, pourable texture. Let the batter sit for about five minutes. This resting time helps it thicken a bit more.
Cooking the Pancakes
Heat a non-stick skillet or griddle over medium heat. Lightly grease the surface with cooking spray or a small amount of coconut oil. For each pancake, pour about ¼ cup of batter onto the skillet. Cook for 2-3 minutes until bubbles form on the surface. Carefully flip the pancake and cook for another 2-3 minutes until golden brown.
Serving Suggestions
Serve your pancakes warm. Top them with sliced bananas, a drizzle of maple syrup, and a sprinkle of your favorite chopped nuts. This adds flavor and crunch, making your pancake breakfast feel special. Enjoy every bite of this tasty treat!
Tips & Tricks
Perfecting Pancake Texture
To perfect the texture of your pancakes, focus on the batter thickness. If your batter is too thin, your pancakes will spread out and become flat. If it’s too thick, they may not cook through. Aim for a batter that is slightly thick but still pourable. If it seems too thick, add a splash more almond milk. If it’s too thin, sprinkle in a bit more oat flour.
Cooking Tips
Maintaining the right skillet temperature is key. Start with medium heat and adjust as needed. A skillet that is too hot will burn the pancakes outside while leaving the inside raw. If you see smoke, the pan is too hot. You want to see bubbles form on the surface before flipping. This means the pancake is ready to turn. Test one pancake first to find that sweet spot.
Storing Leftovers
To keep your pancakes fresh, store them properly. Let them cool completely before placing them in an airtight container. You can store them in the fridge for up to three days. If you want to keep them longer, freeze them. Place parchment paper between pancakes to prevent sticking. When you’re ready to eat, just reheat them in the microwave or toaster. Enjoy your tasty treat anytime!
Error: Connection error.
Variations
Vegan Option
You can easily make these pancakes vegan. Just swap the egg for applesauce. Use ½ cup of unsweetened applesauce. This keeps the batter moist and adds a hint of sweetness. It works well with the banana flavor. You won't even notice the difference!
Flavor Additions
You can mix in extra flavors to make your pancakes special. Try adding chopped nuts for crunch. Walnuts or pecans work great. You can also add chocolate chips for a sweet touch. Or toss in some fresh berries for a fruity twist. Each option makes your pancakes unique and tasty.
Serving Variations
Toppings can change your pancake game. Try drizzling maple syrup for sweetness. You can also use honey or agave syrup. For a fresh taste, add sliced bananas on top. A sprinkle of nuts or seeds adds crunch. Experiment with yogurt or nut butter for extra flavor and protein.
Storage Info
Refrigerating Leftovers
To store pancakes in the fridge, let them cool first. Place them in an airtight container. They stay fresh for up to three days. You can also layer parchment paper between pancakes to keep them from sticking. This makes it easy to grab one at a time.
Freezing Instructions
Freezing pancakes for later use is simple. Once cooled, stack them with parchment paper in between. Place the stack in a freezer-safe bag. Squeeze out as much air as you can before sealing. These pancakes can last for up to two months in the freezer. Just label the bag with the date to keep track.
Reheating Methods
Reheating pancakes is quick and easy. You can use three methods:
- Microwave: Place a pancake on a plate and cover it with a damp paper towel. Heat for 20-30 seconds.
- Oven: Preheat to 350°F (175°C). Place pancakes on a baking sheet and warm for about 10 minutes.
- Skillet: Heat a bit of oil in a skillet over medium heat. Cook each pancake for about 1-2 minutes on each side. This method keeps them crispy.
Enjoy your delicious banana bread protein pancakes anytime!
FAQs
Can I use any type of milk?
Yes, you can use any milk you like. Almond milk works great, but so does cow's milk or oat milk. Each type adds a unique flavor. If you want creaminess, choose whole milk. For a lighter option, try skim milk. Just make sure it’s unsweetened if you want to keep the flavor balanced.
How can I make these gluten-free?
To make gluten-free pancakes, use certified gluten-free oats. Blend them into flour as usual. Check your protein powder too. Some brands contain gluten. You can also add gluten-free baking powder to ensure it rises well. This way, you keep the taste without the gluten.
What can I substitute for protein powder?
You can replace protein powder with ground flaxseed or chia seeds. They add fiber and healthy fats. Another option is to use Greek yogurt for extra creaminess. If you prefer, you can skip it entirely. Just add an extra banana to keep the batter moist and tasty.
These pancake ingredients come together for a tasty, healthy meal. You can easily make them with just banana, oats, and a few other items. Follow the steps to blend your batter and cook your pancakes perfectly.
Remember, you can tweak the recipe with your favorite flavors or toppings. Try storing leftovers for a quick breakfast later. Enjoy making pancakes your way!