FREE DINNER EBOOK!
Get your copy!
Cookie Policy
GDPR Policy
Disclaimer
Terms Of Use
Visit my other site:
Fun Cookie Recipes
Home
Dinner
Desserts
Drinks
Appetizers
Contact
About
Privacy Policy
Home
Dinner
Desserts
Drinks
Appetizers
Contact
About
Privacy Policy
Cookie Policy
GDPR Policy
Disclaimer
Terms Of Use
Visit my other site:
Fun Cookie Recipes
HOME / CATEGORIES /
Latest
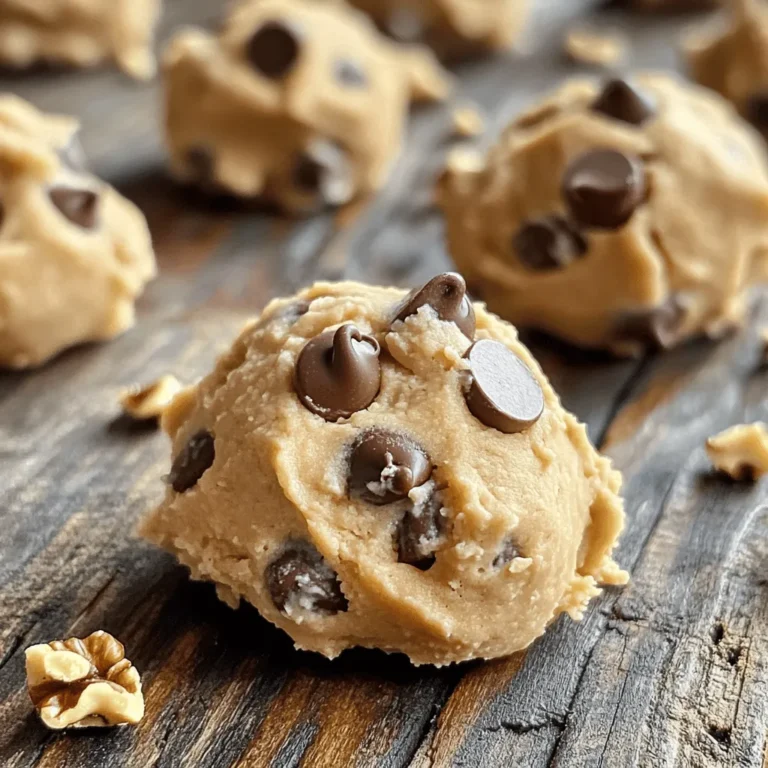
Cottage Cheese Chocolate Chip Cookie Dough Delight
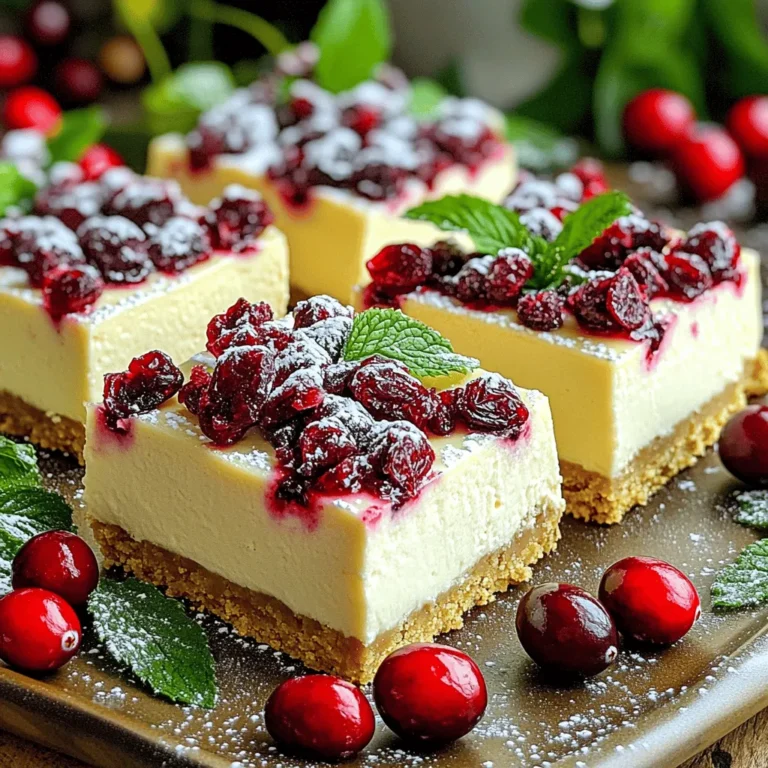
White Chocolate Cranberry Cheesecake Bars No Bake Delight
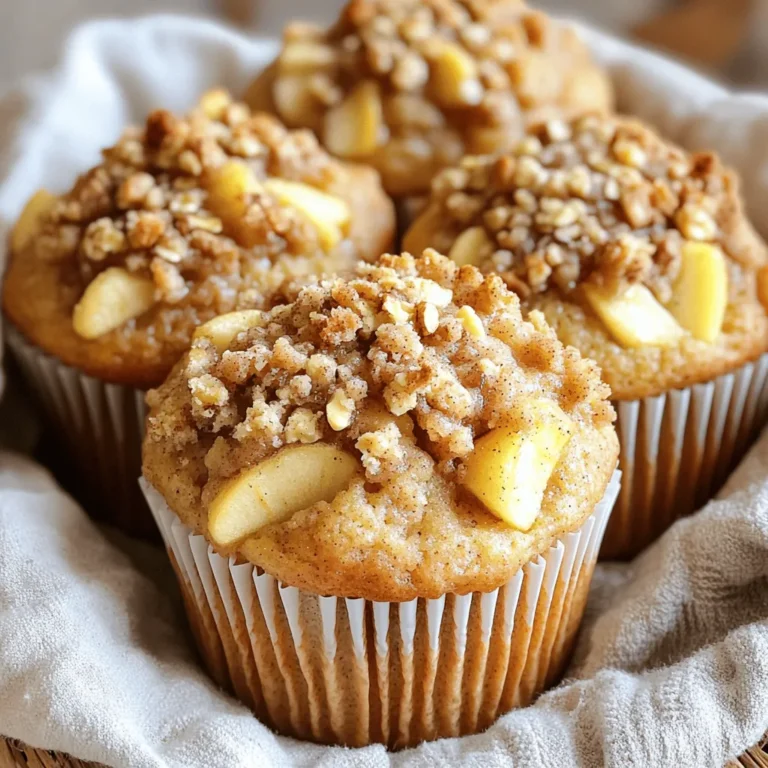
Cinnamon Apple Streusel Muffins Bakery Delightful Treat
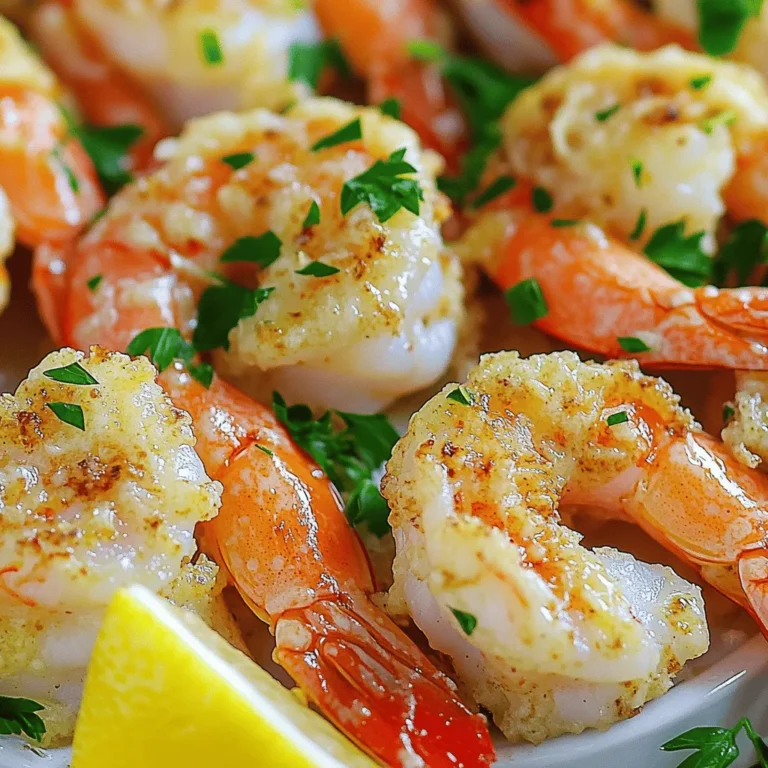
Air Fryer Garlic Parmesan Shrimp Flavorful and Fast
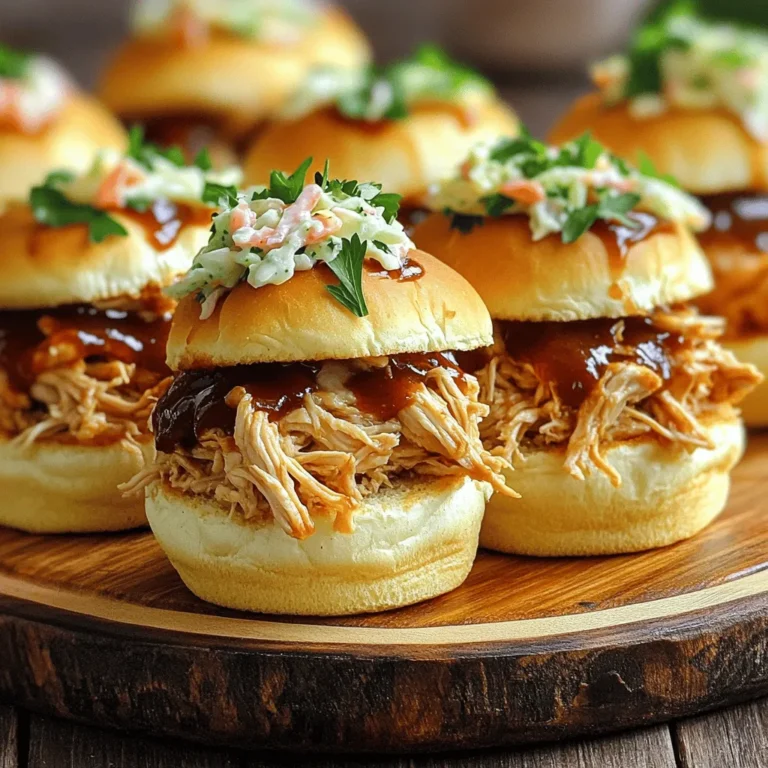
Slow Cooker BBQ Pulled Chicken Sliders Delightful Treat
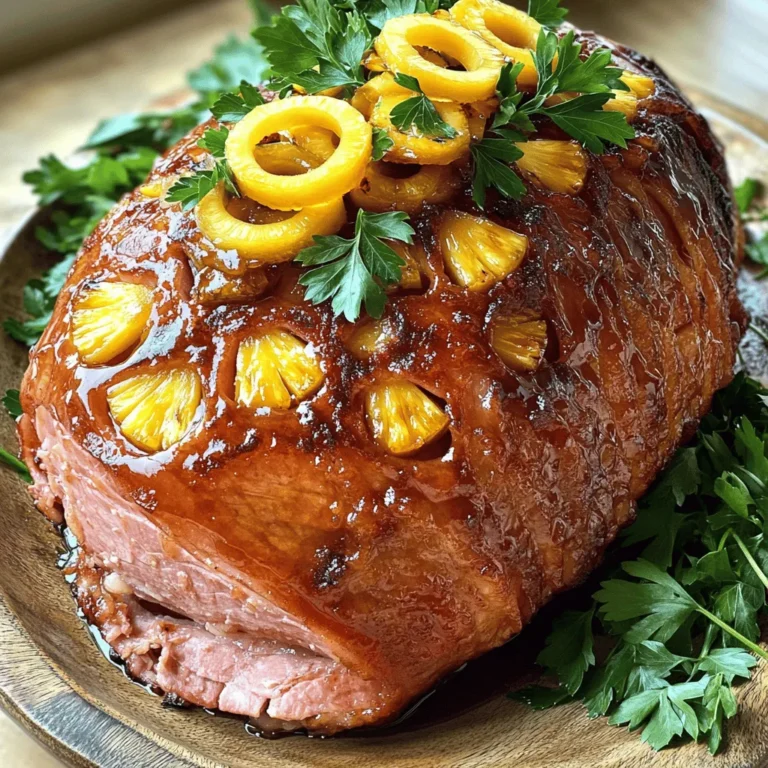
Maple Glazed Ham with Pineapple Delightful Feast
Sheet-Pan Garlic Butter Steak and Veggies Delicious Meal
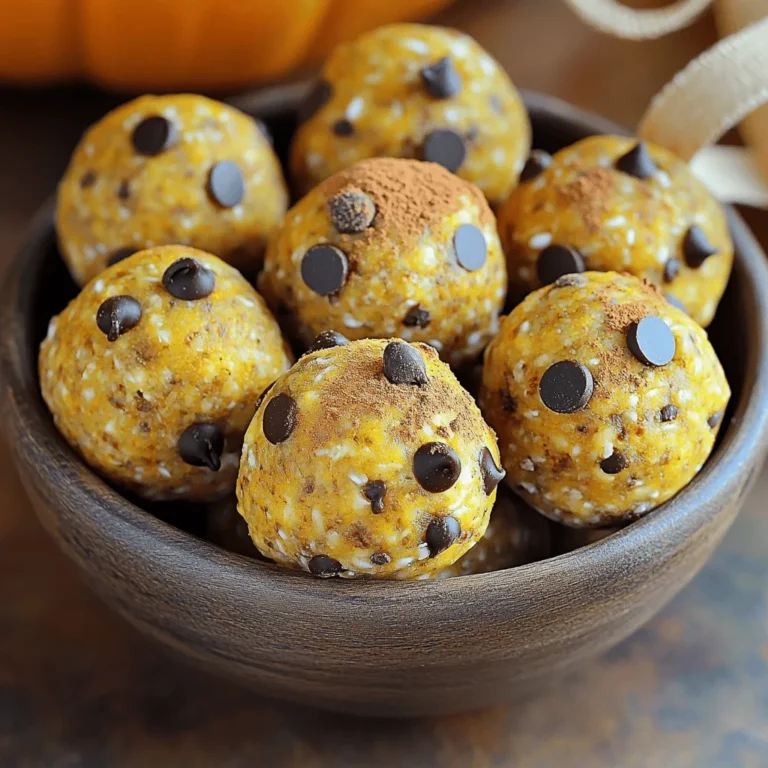
Pumpkin Spice Latte Energy Balls Delicious Fall Treat
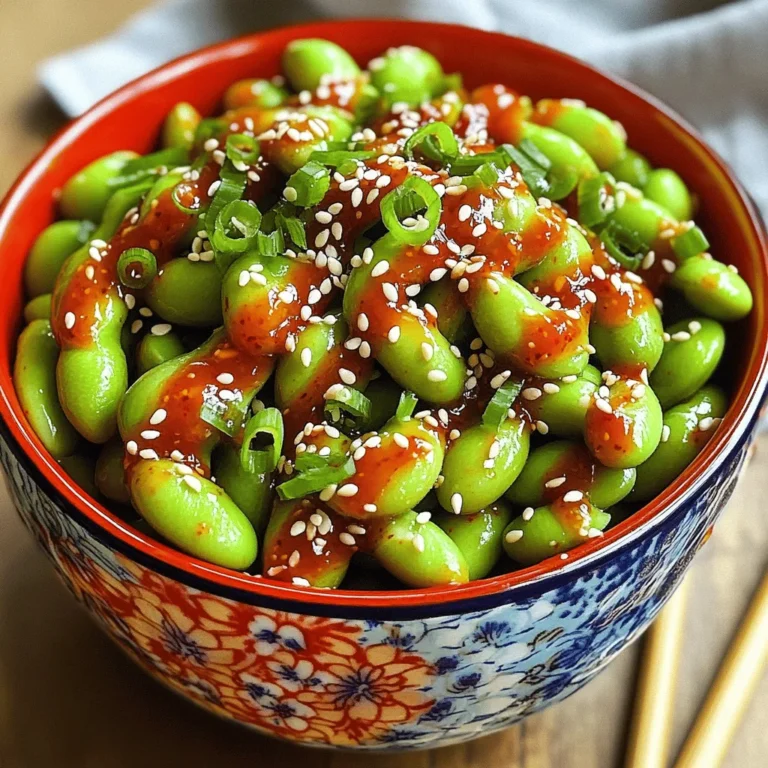
Sweet Chili Edamame Snack Flavorful and Healthy Treat
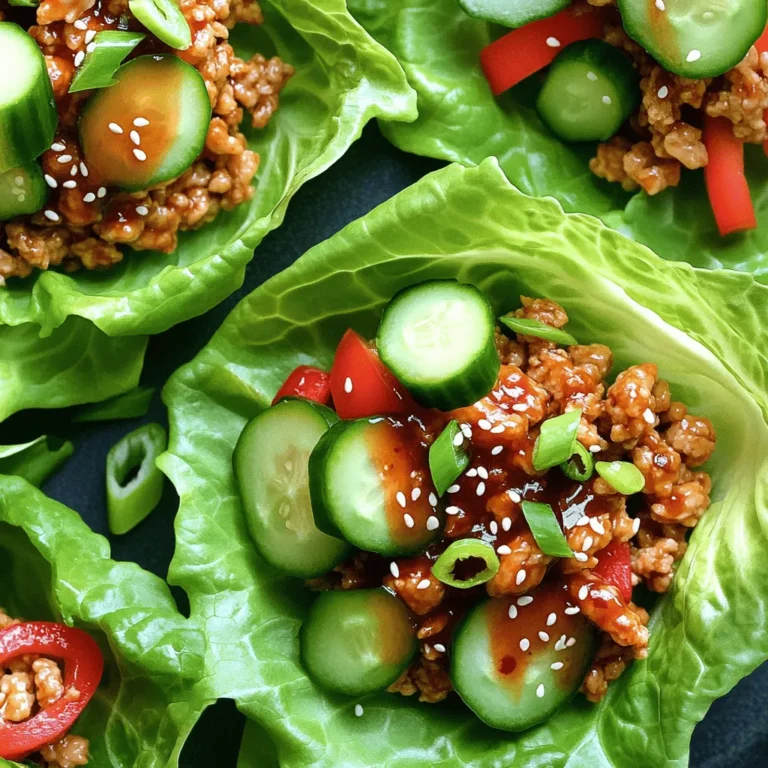
Sriracha Honey Chicken Lettuce Wraps Flavorful Delight
PREV
1
…
8
9
10
…
20
NEXT