FREE DINNER EBOOK!
Get your copy!
Cookie Policy
GDPR Policy
Disclaimer
Terms Of Use
Visit my other site:
Fun Cookie Recipes
Home
Dinner
Desserts
Drinks
Appetizers
Contact
About
Privacy Policy
Home
Dinner
Desserts
Drinks
Appetizers
Contact
About
Privacy Policy
Cookie Policy
GDPR Policy
Disclaimer
Terms Of Use
Visit my other site:
Fun Cookie Recipes
HOME / CATEGORIES /
Latest
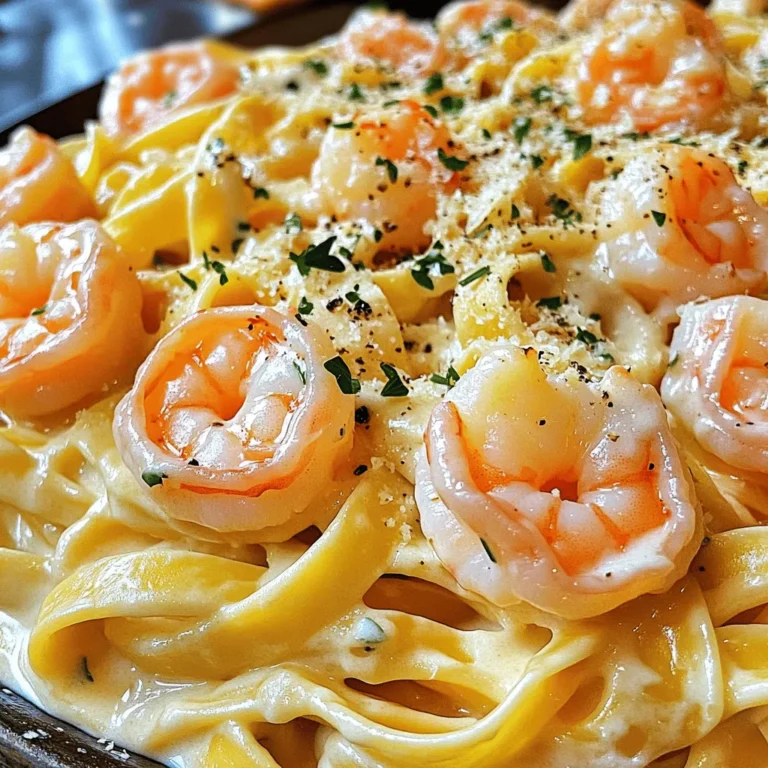
Creamy Garlic Shrimp Alfredo Irresistible Pasta Delight
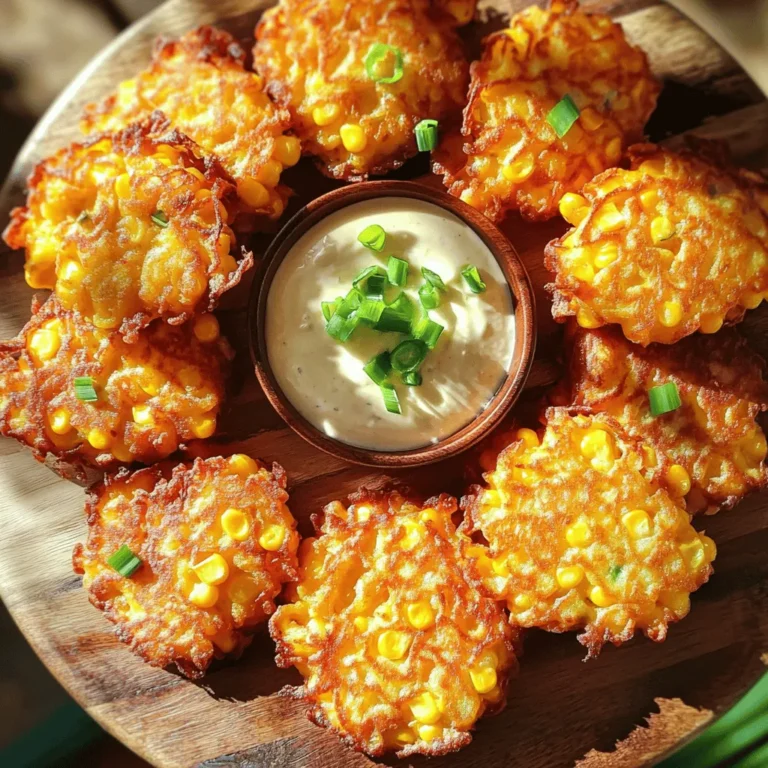
Sweet Corn Cheddar Fritters Crispy and Flavorful Treat
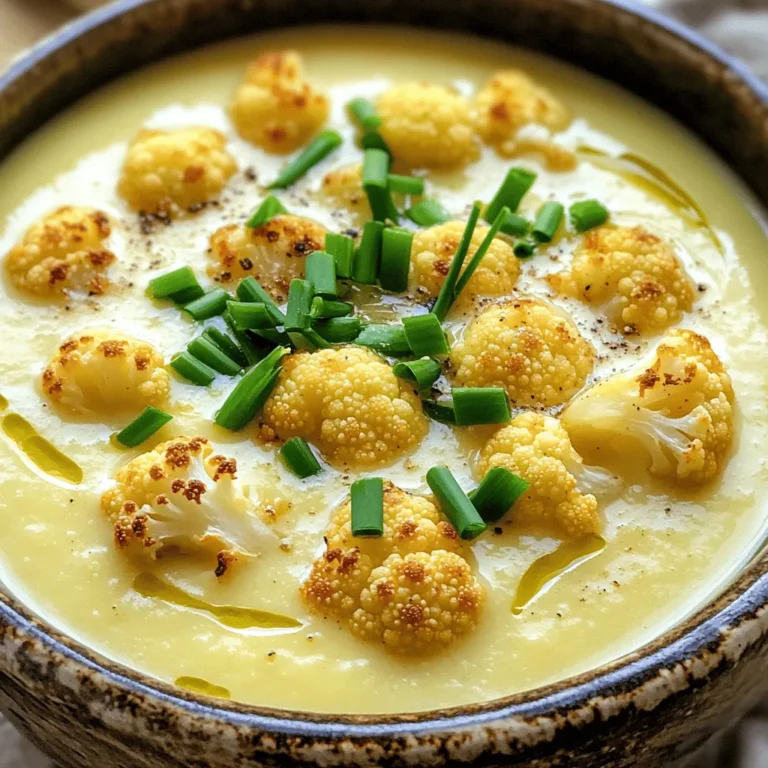
Creamy Roasted Cauliflower Soup Simple and Tasty Recipe
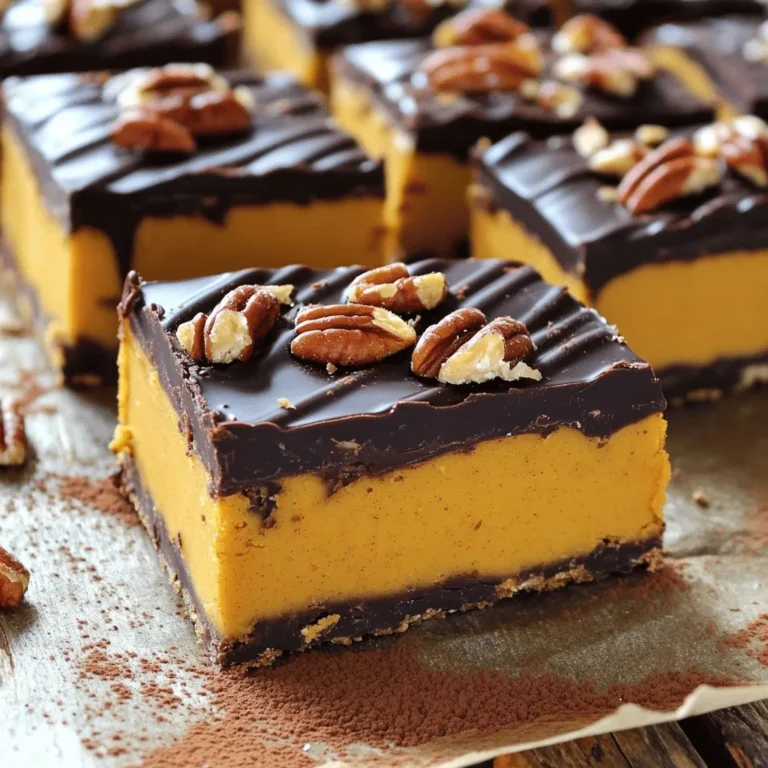
No-Bake Chocolate Peanut Butter Pumpkin Bars Delight
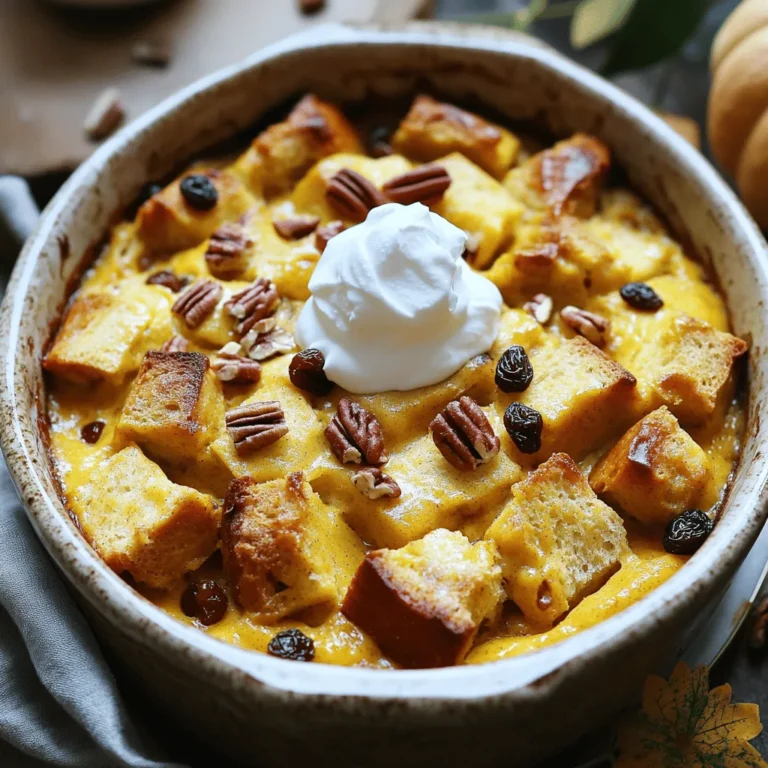
Warm Spiced Pumpkin Bread Pudding Comforting Delight
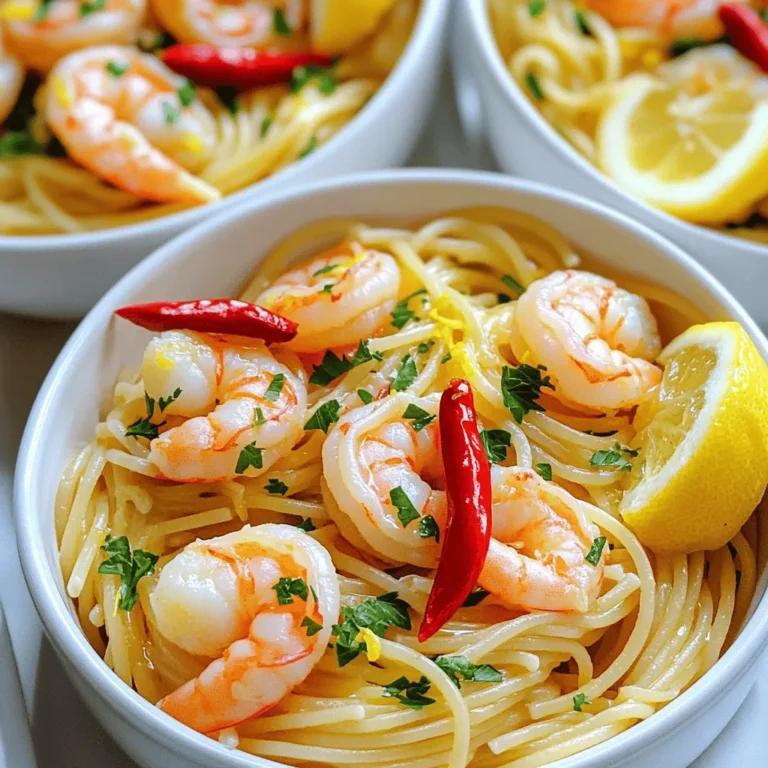
Garlic Chili Shrimp Pasta 15-Minute Flavor Blast
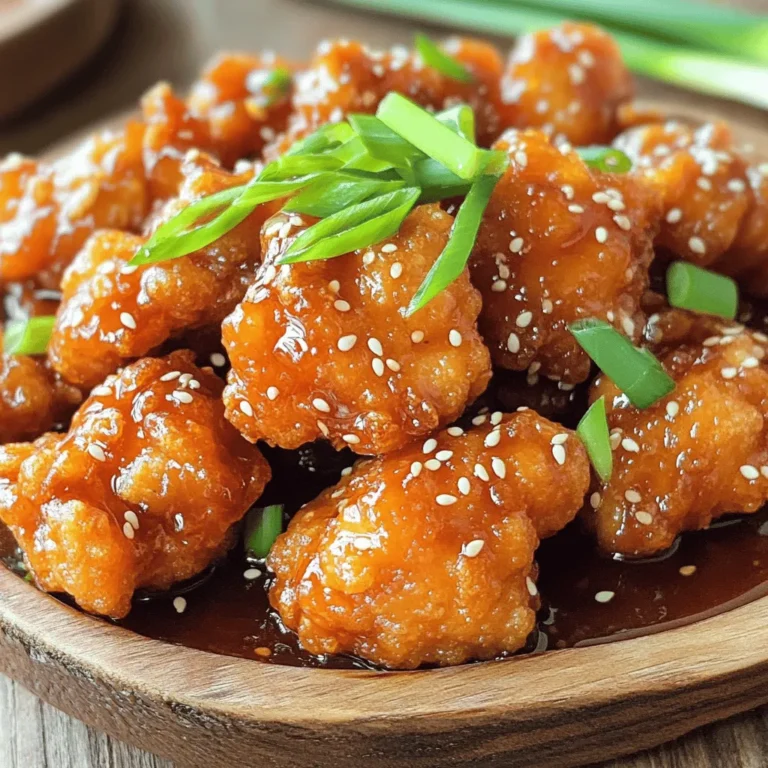
Crispy Sesame Chicken Better Than Takeout Delight
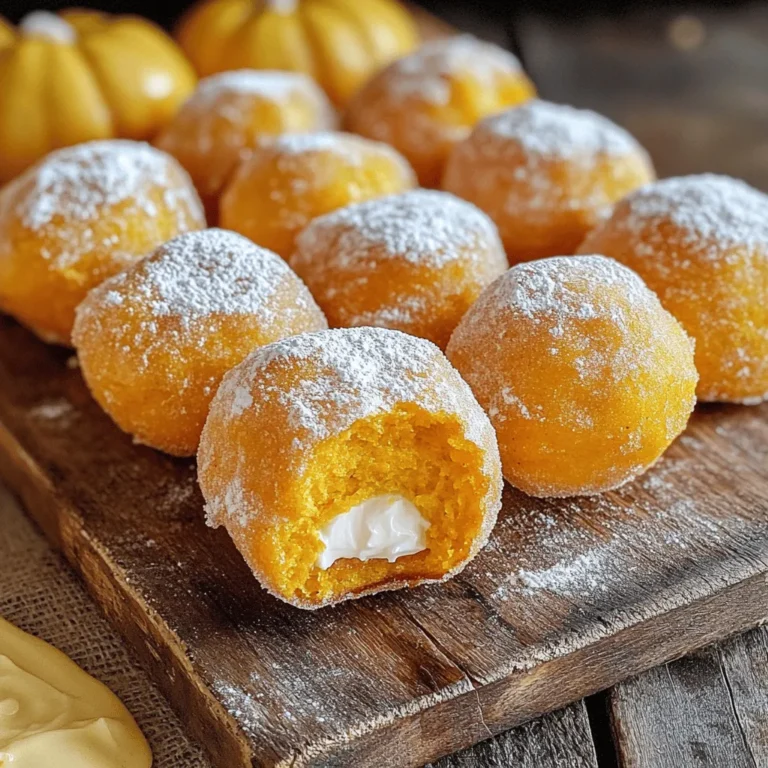
Pumpkin Cream Cheese Donut Holes Irresistible Treat
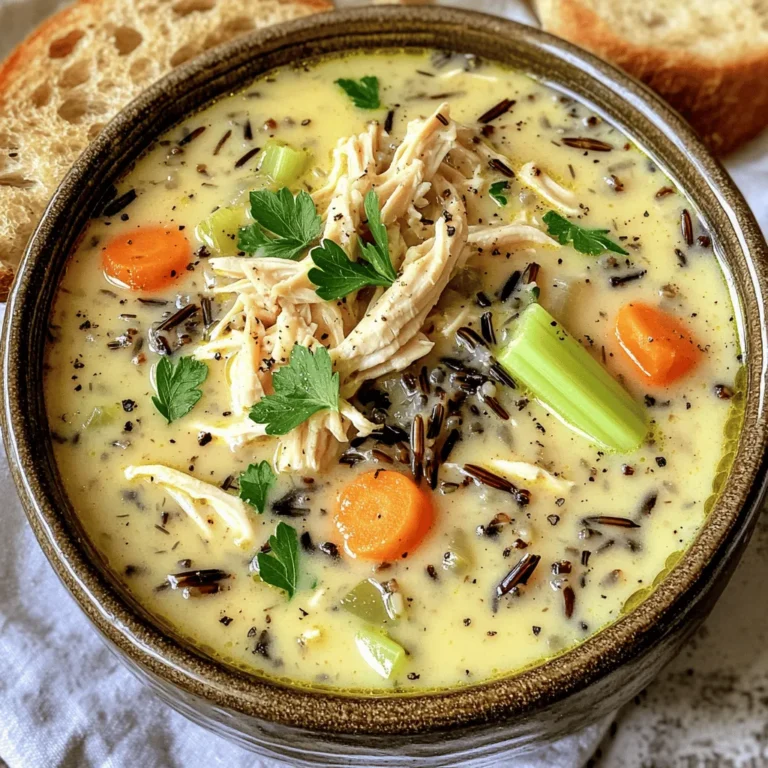
Cozy Creamy Chicken Wild Rice Soup Flavor Delight
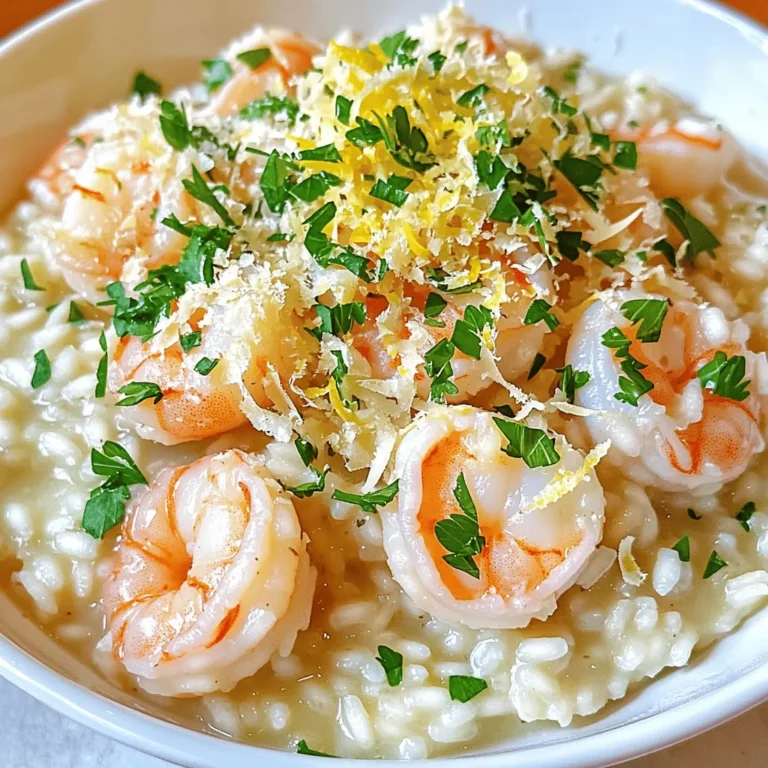
Garlic Parmesan Shrimp Risotto Creamy and Flavorful Dish
PREV
1
…
7
8
9
…
20
NEXT