FREE DINNER EBOOK!
Get your copy!
Cookie Policy
GDPR Policy
Disclaimer
Terms Of Use
Visit my other site:
Fun Cookie Recipes
Home
Dinner
Desserts
Drinks
Appetizers
Contact
About
Privacy Policy
Home
Dinner
Desserts
Drinks
Appetizers
Contact
About
Privacy Policy
Cookie Policy
GDPR Policy
Disclaimer
Terms Of Use
Visit my other site:
Fun Cookie Recipes
HOME / CATEGORIES /
Latest
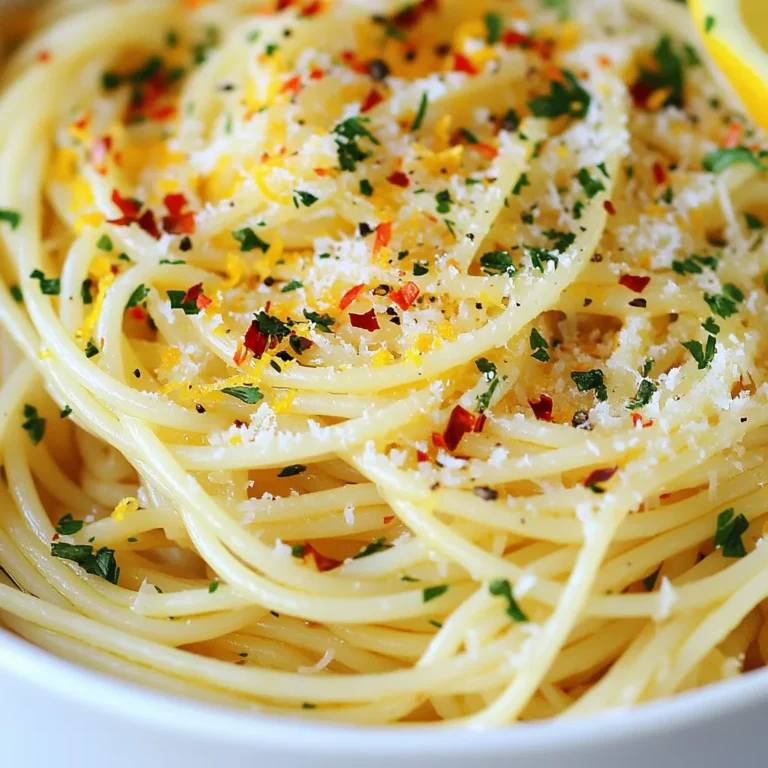
Savory Spaghetti Aglio e Olio Quick and Easy Recipe
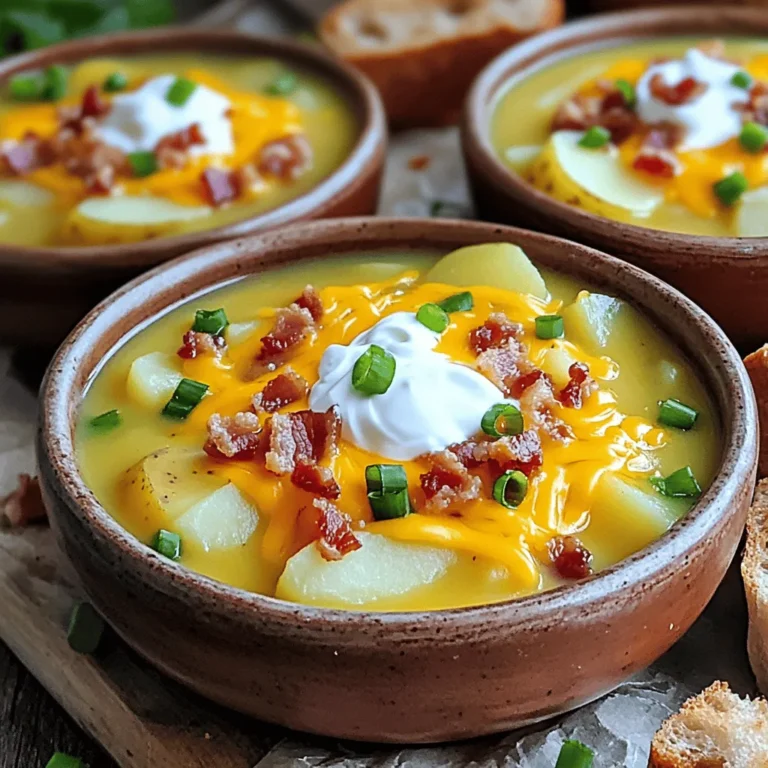
Slow Cooker Loaded Potato Soup Easy and Creamy Recipe
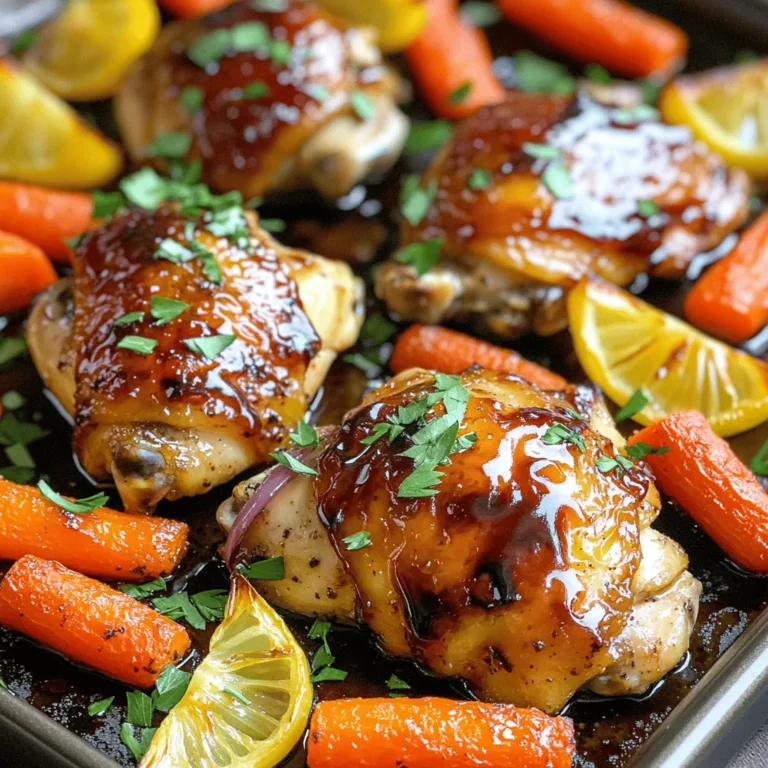
Sheet Pan Balsamic Chicken Carrots Flavorful Dinner
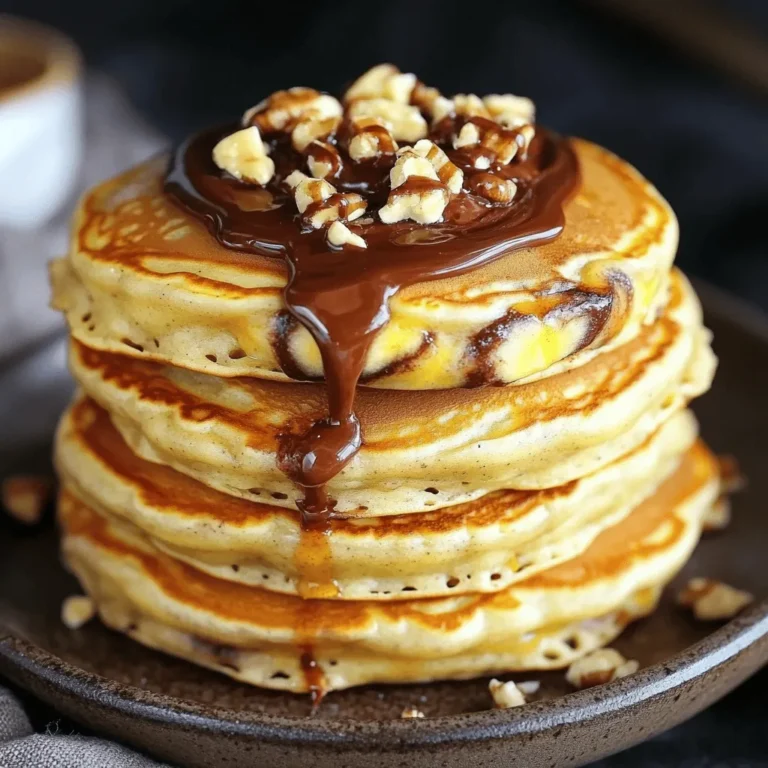
Banana Nutella Swirl Pancakes Irresistible Breakfast Delight
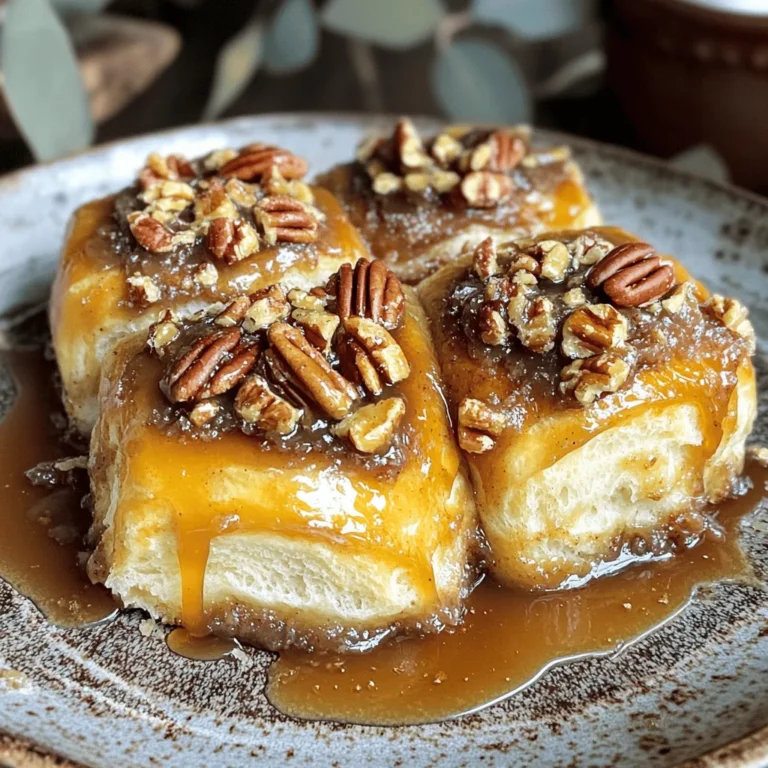
Slow Cooker Caramel Pecan Sticky Buns Easy Delight
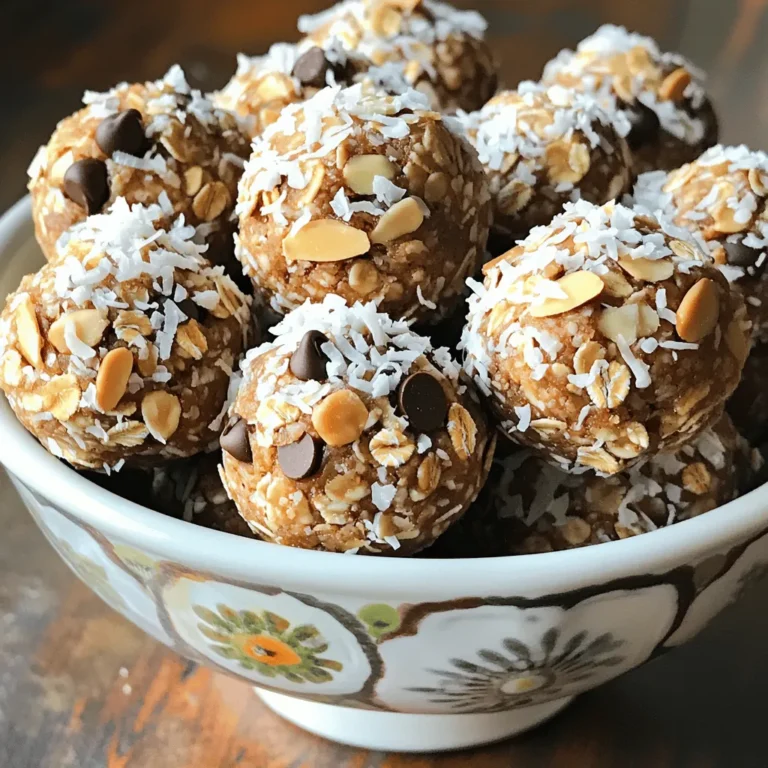
No Bake Almond Joy Energy Bites Simple Recipe
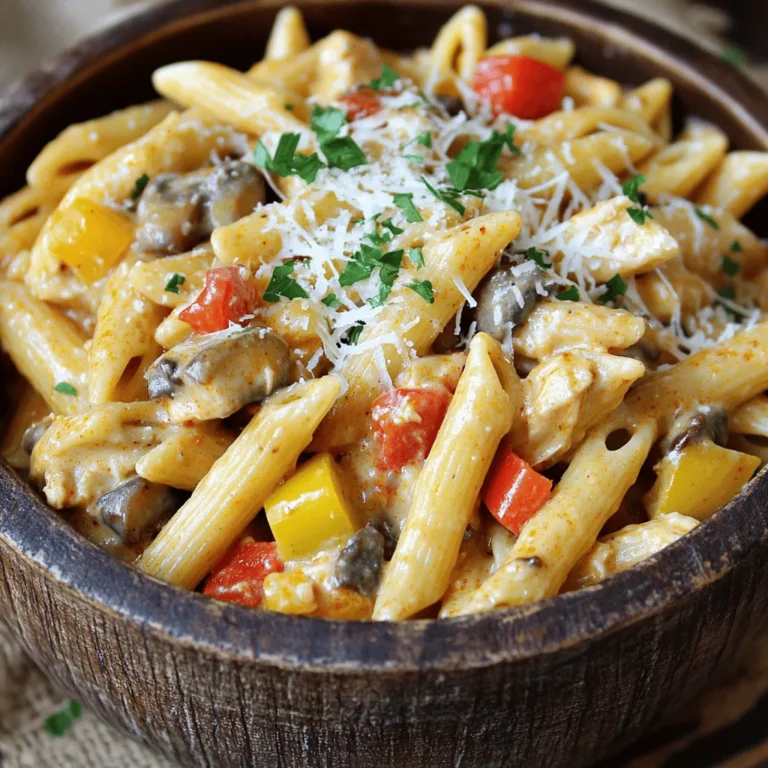
Slow Cooker Creamy Cajun Chicken Pasta Delight
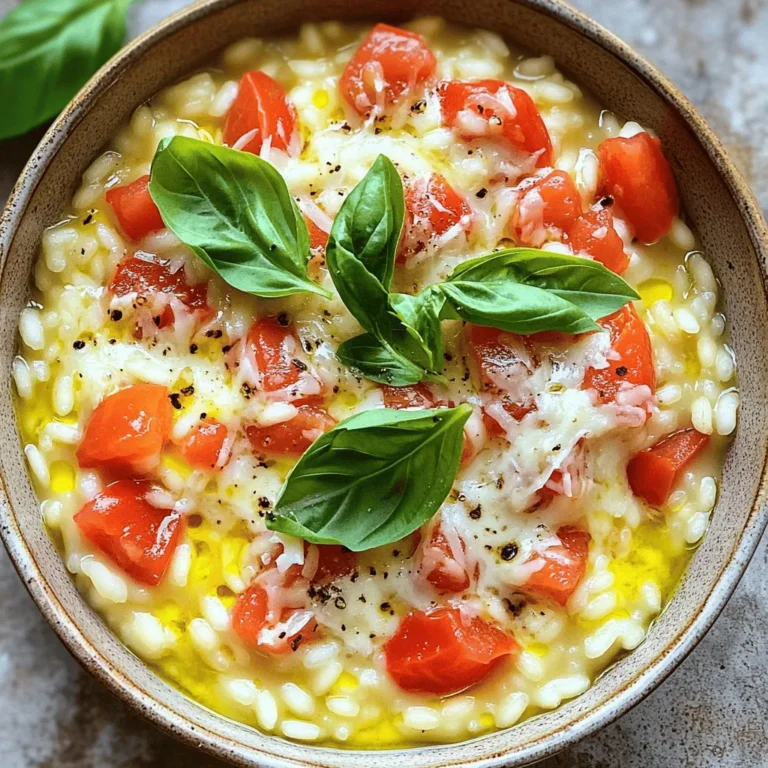
One-Pot Tomato Parmesan Risotto Comforting Recipe
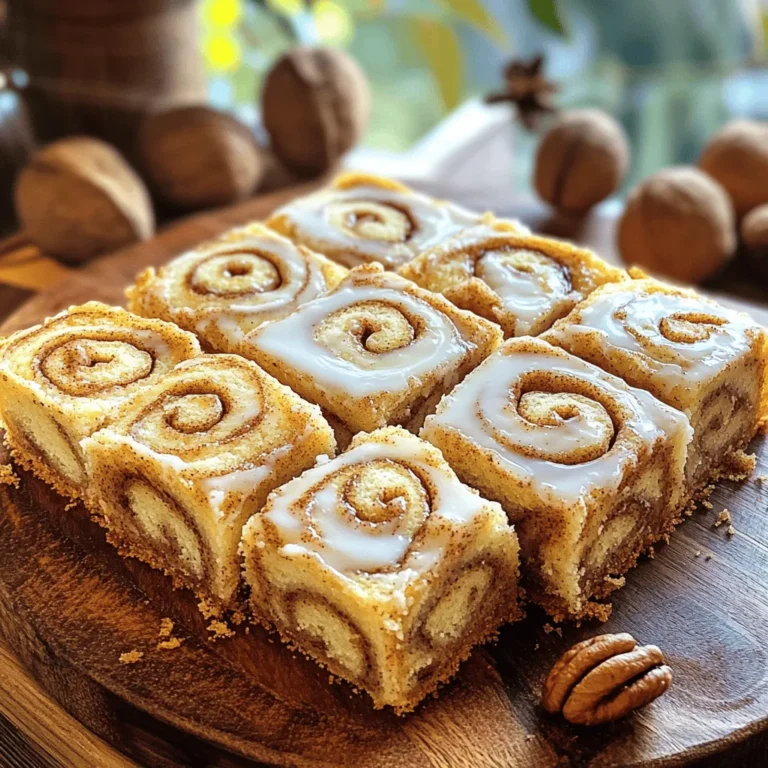
Cinnamon Roll Coffee Cake Savory and Sweet Delight
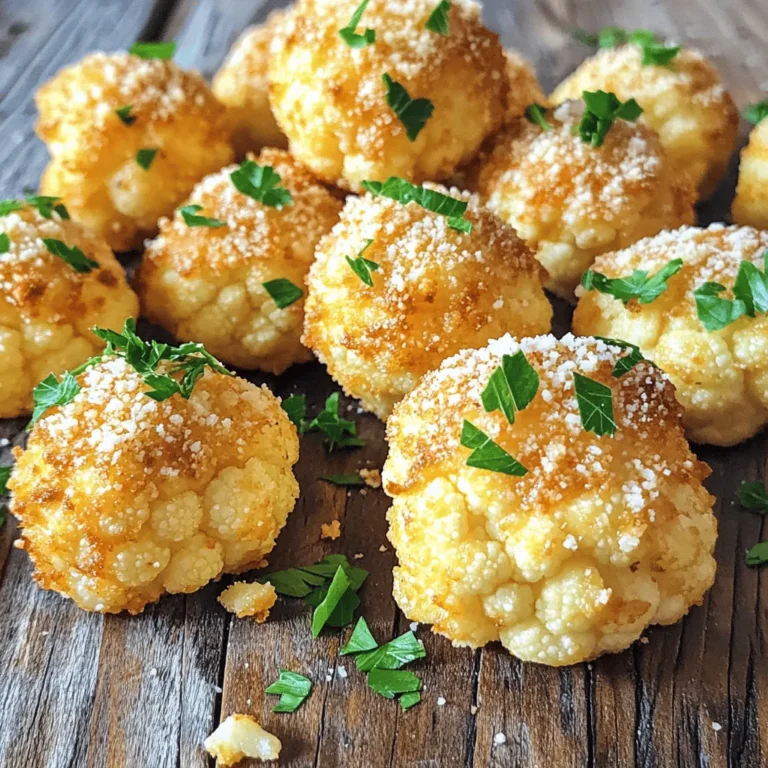
Parmesan Cauliflower Bites Air Fryer Crispy Snack
PREV
1
…
6
7
8
…
20
NEXT