FREE DINNER EBOOK!
Get your copy!
Cookie Policy
GDPR Policy
Disclaimer
Terms Of Use
Visit my other site:
Fun Cookie Recipes
Home
Dinner
Desserts
Drinks
Appetizers
Contact
About
Privacy Policy
Home
Dinner
Desserts
Drinks
Appetizers
Contact
About
Privacy Policy
Cookie Policy
GDPR Policy
Disclaimer
Terms Of Use
Visit my other site:
Fun Cookie Recipes
HOME / CATEGORIES /
Latest
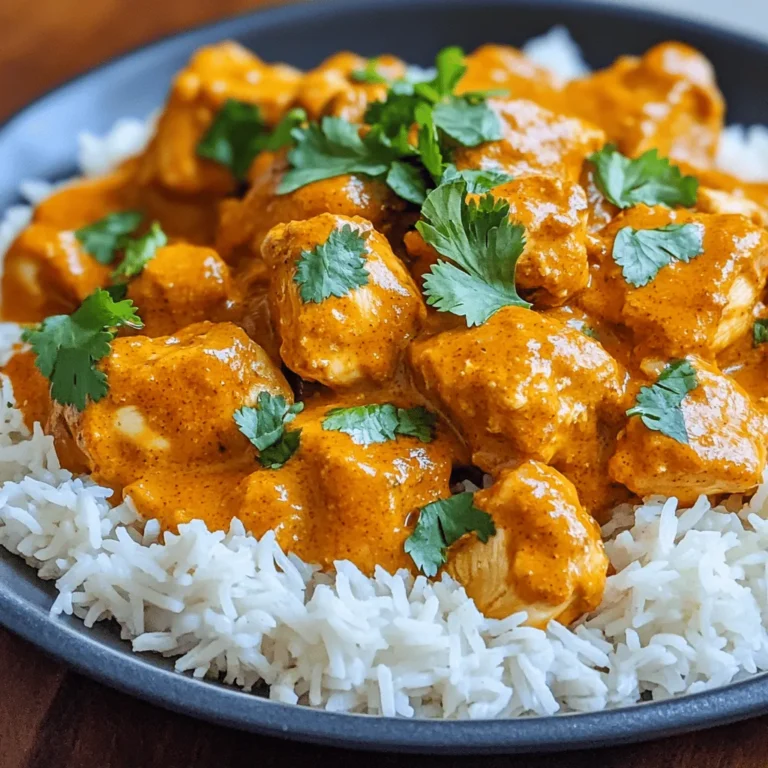
Slow Cooker Butter Chicken Flavorful Comfort Dish
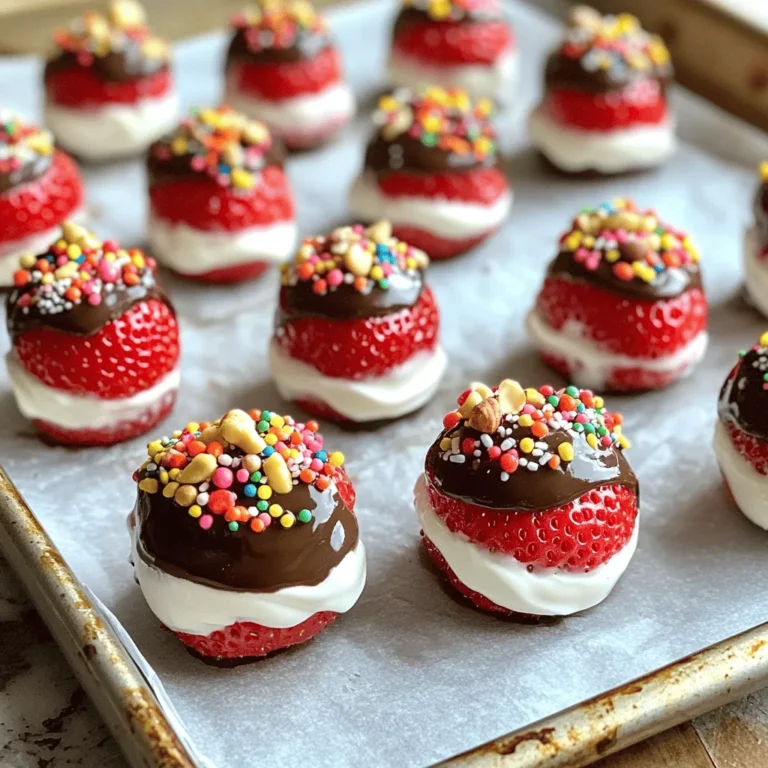
Chocolate Dipped Strawberry Yogurt Bites Delight
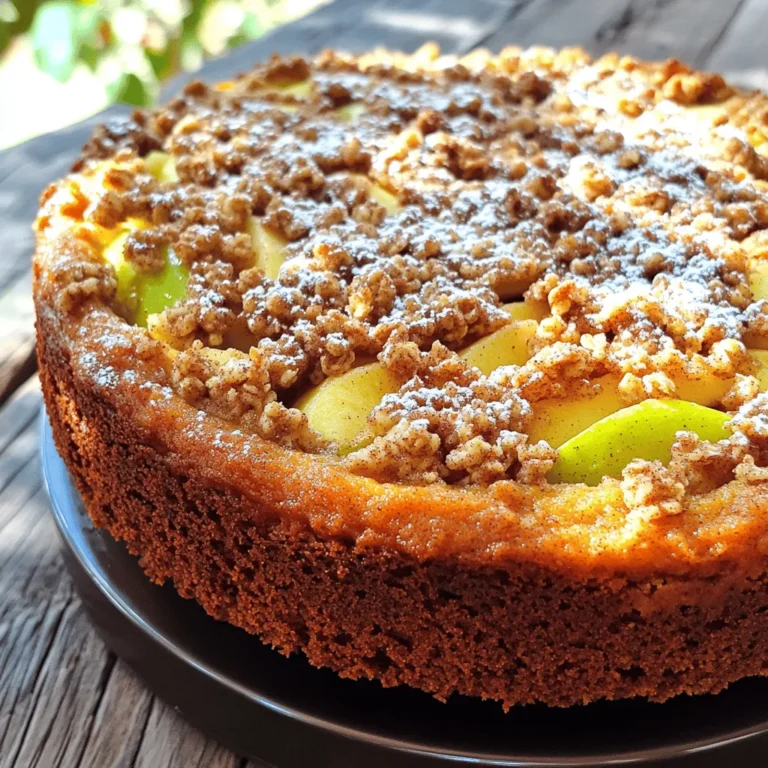
Apple Cinnamon Streusel Coffee Cake Easy and Tasty Treat
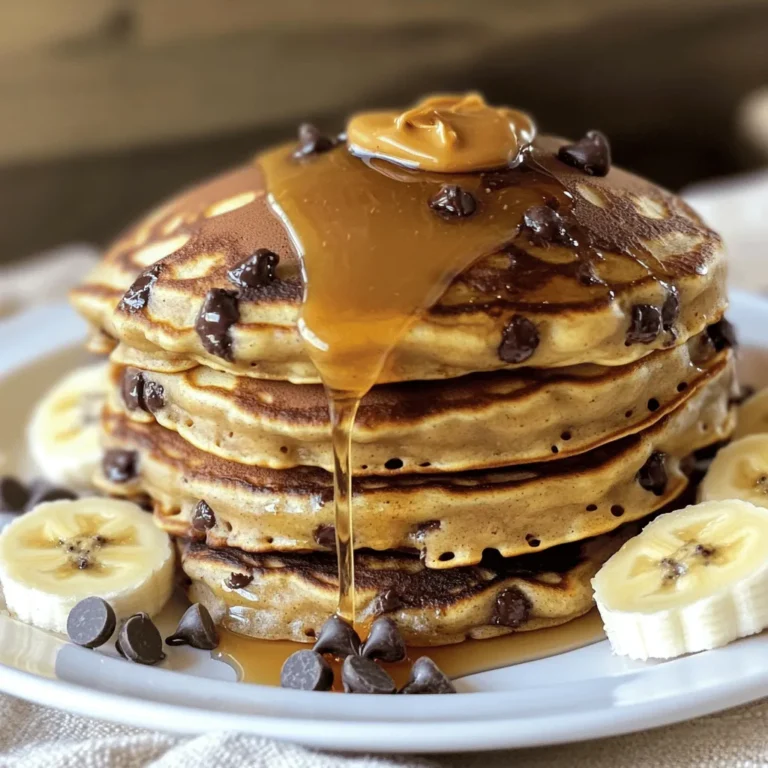
Peanut Butter Chocolate Chip Pancakes Simple and Tasty
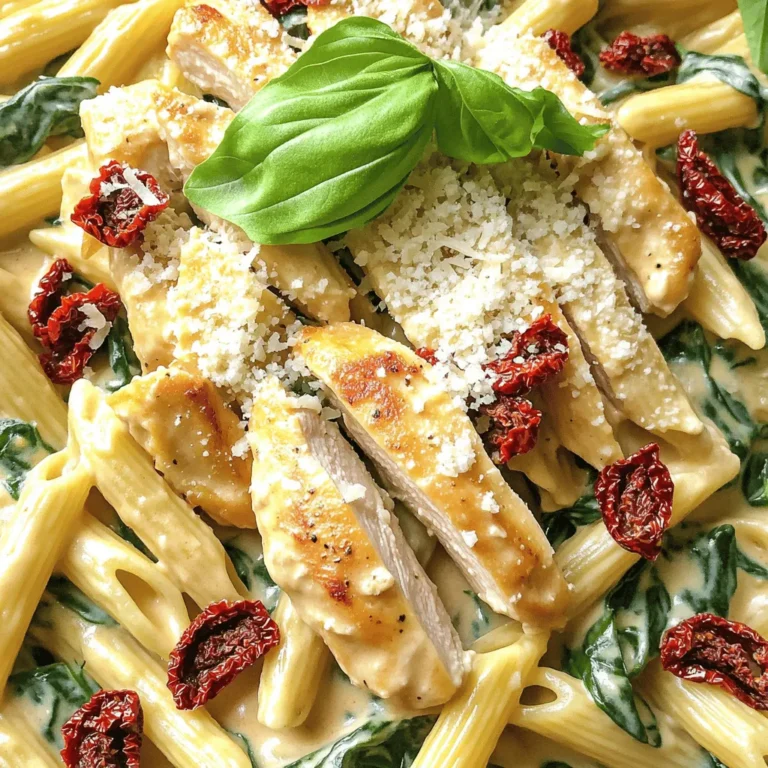
Creamy Sun-Dried Tomato Chicken Pasta Quick and Easy
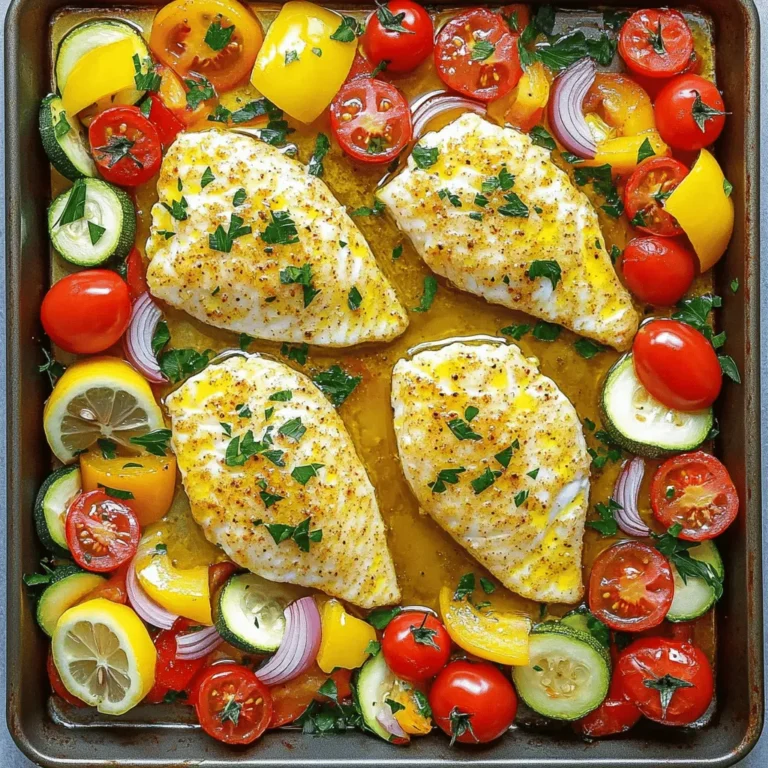
Lemon Garlic Tilapia & Veggie Sheet Pan Delight
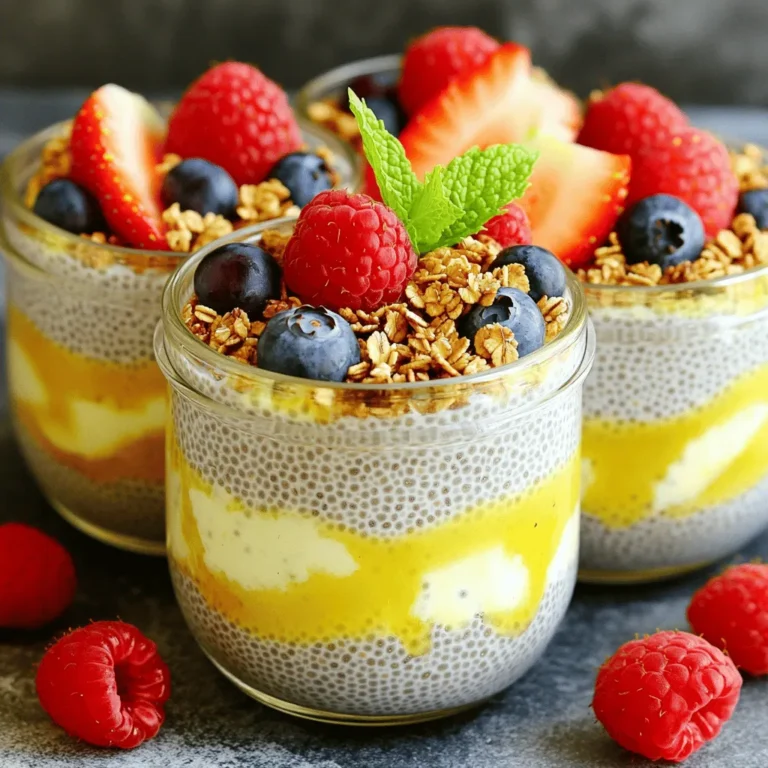
Vanilla Chia Pudding Cups Simple and Tasty Recipe
Maple Cinnamon Oat Pancakes Fluffy and Flavorful Treat
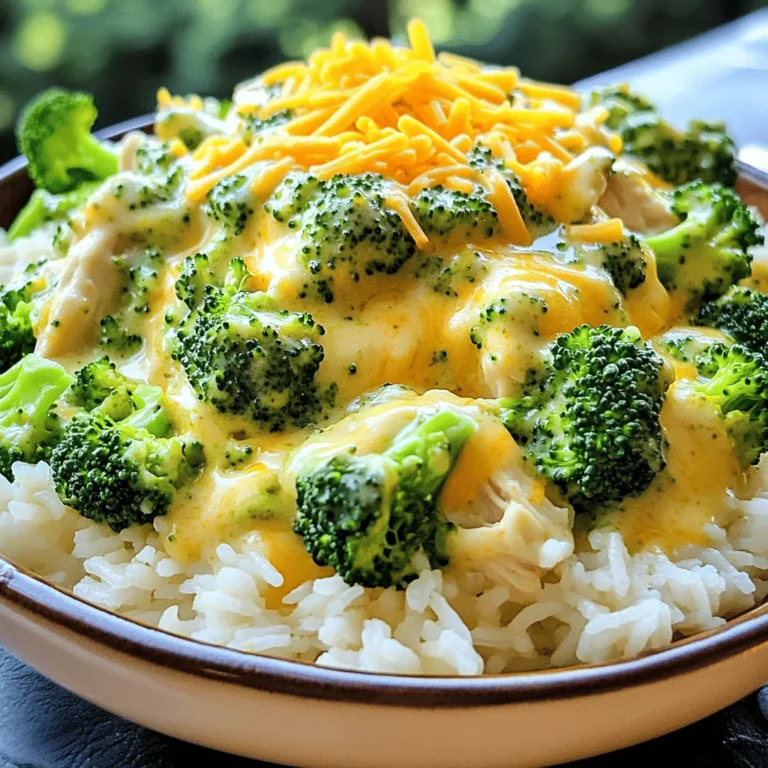
Creamy Broccoli Cheddar Chicken Slow Cooker Delight
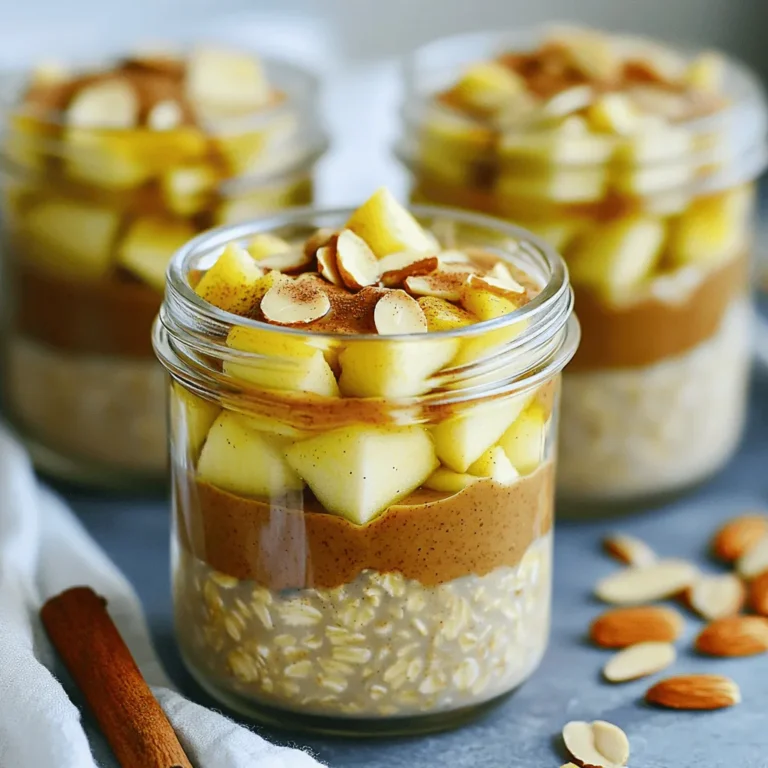
Apple Spice Almond Butter Overnight Oats Delight
PREV
1
…
5
6
7
…
20
NEXT