FREE DINNER EBOOK!
Get your copy!
Cookie Policy
GDPR Policy
Disclaimer
Terms Of Use
Visit my other site:
Fun Cookie Recipes
Home
Dinner
Desserts
Drinks
Appetizers
Contact
About
Privacy Policy
Home
Dinner
Desserts
Drinks
Appetizers
Contact
About
Privacy Policy
Cookie Policy
GDPR Policy
Disclaimer
Terms Of Use
Visit my other site:
Fun Cookie Recipes
HOME / CATEGORIES /
Latest
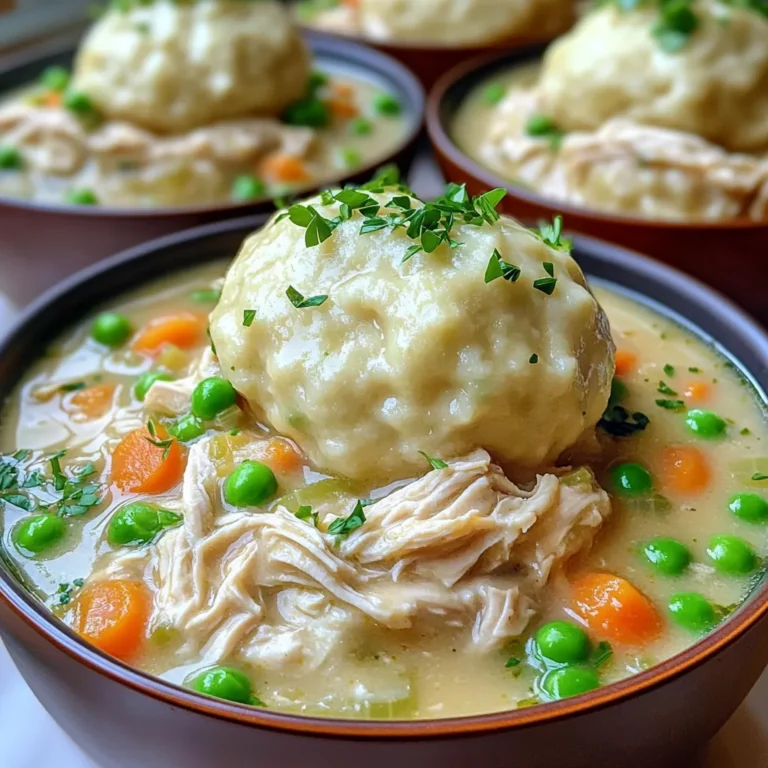
Slow Cooker Chicken & Dumplings Flavorful Comfort Dish
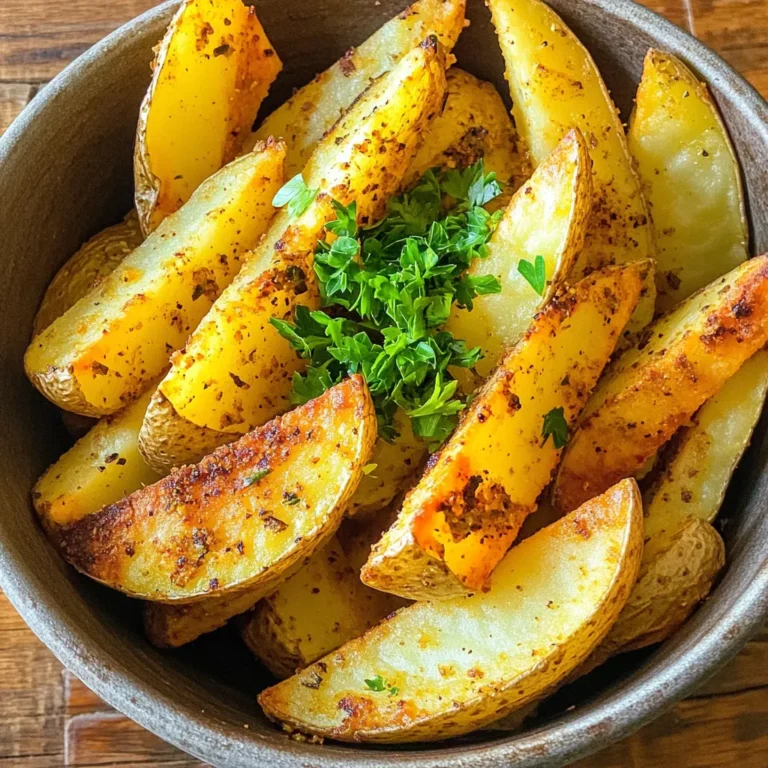
Air Fryer Potato Wedges Crispy and Delicious Recipe
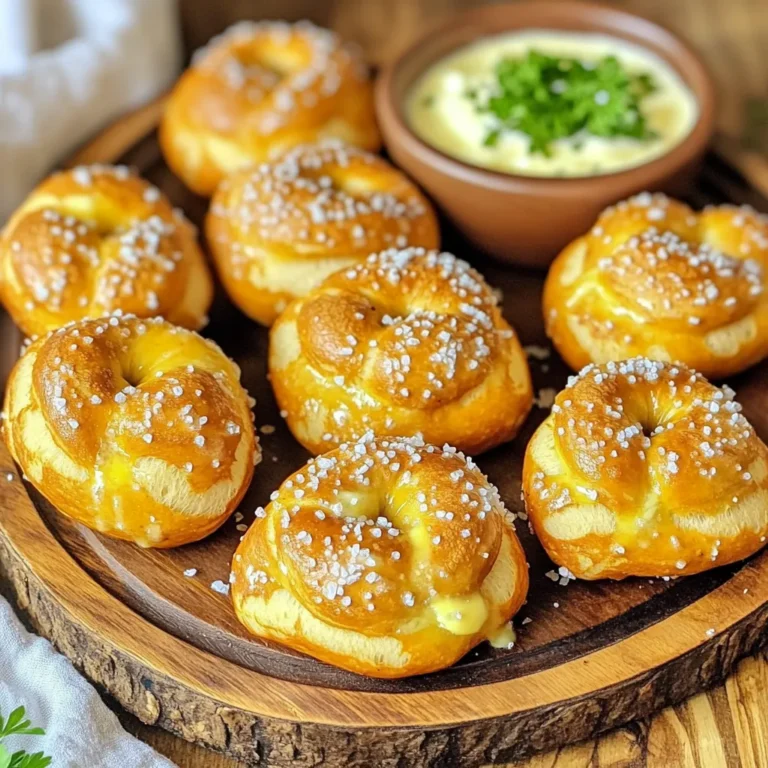
Air Fryer Pretzel Bites Easy and Flavorful Snack
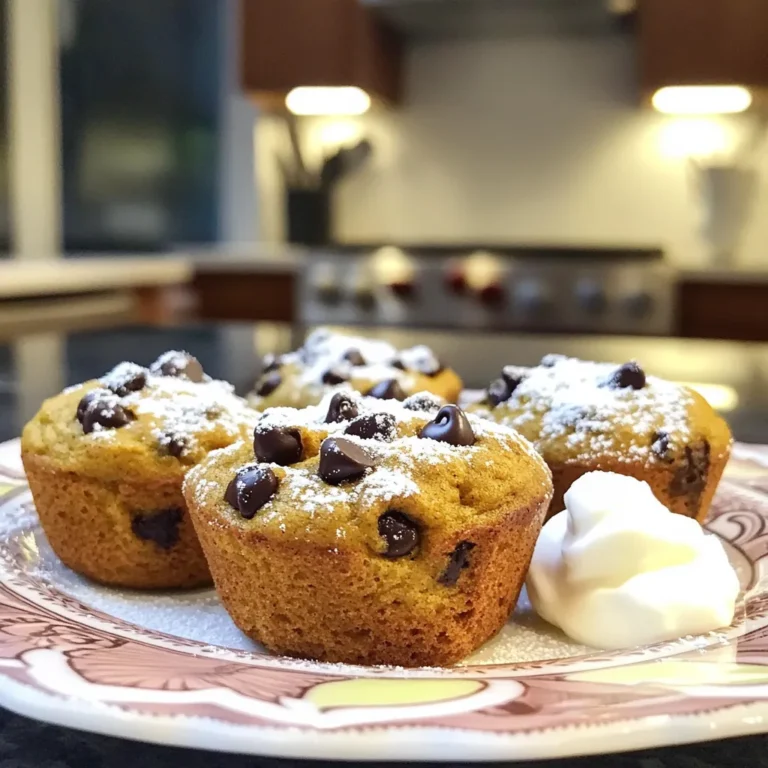
Pumpkin Chocolate Chip Protein Muffins Healthy Snack
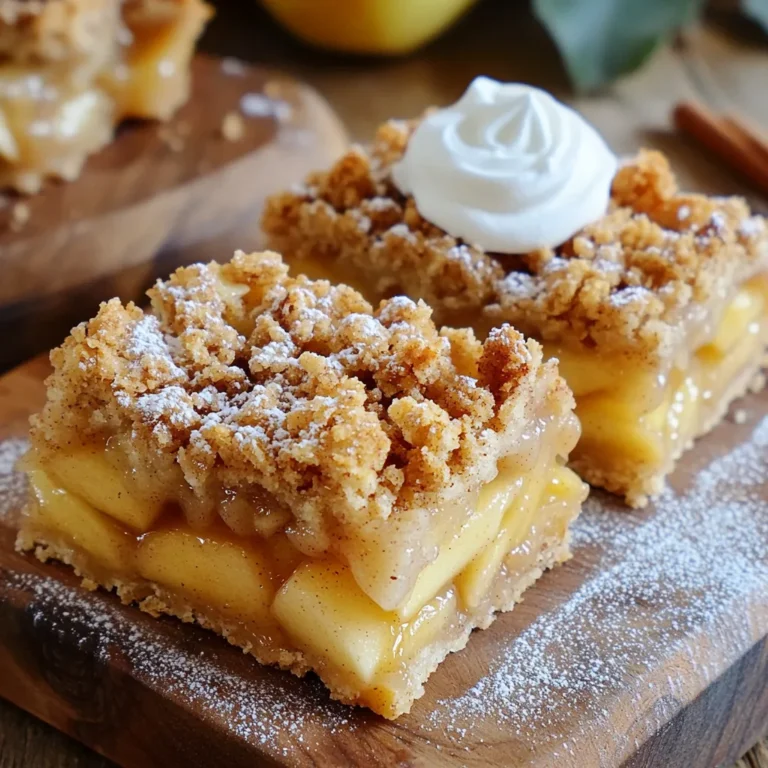
Spiced Apple Crumble Bars Tasty Fall Dessert Idea
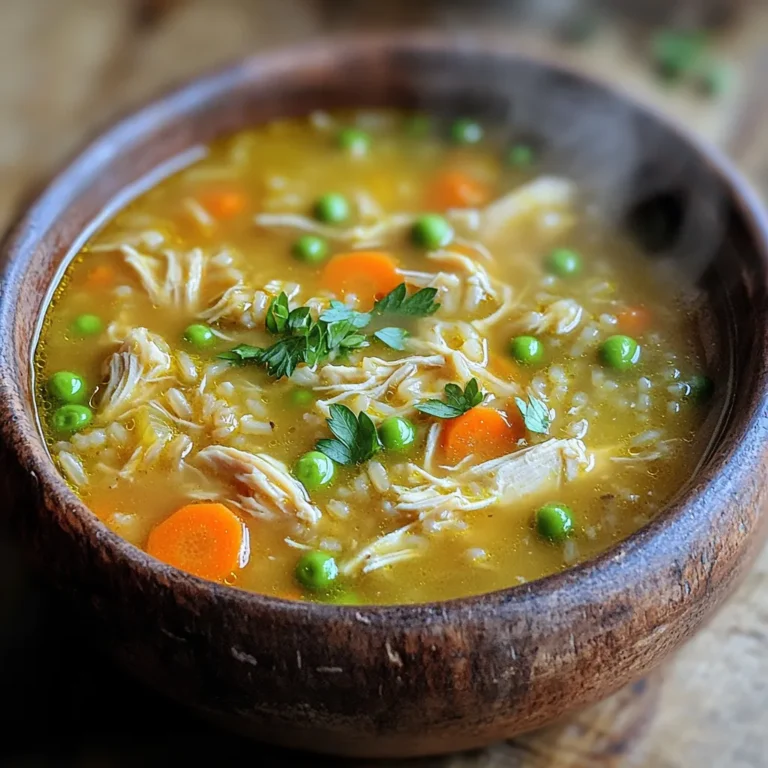
Slow Cooker Chicken and Rice Soup Easy Comfort Meal
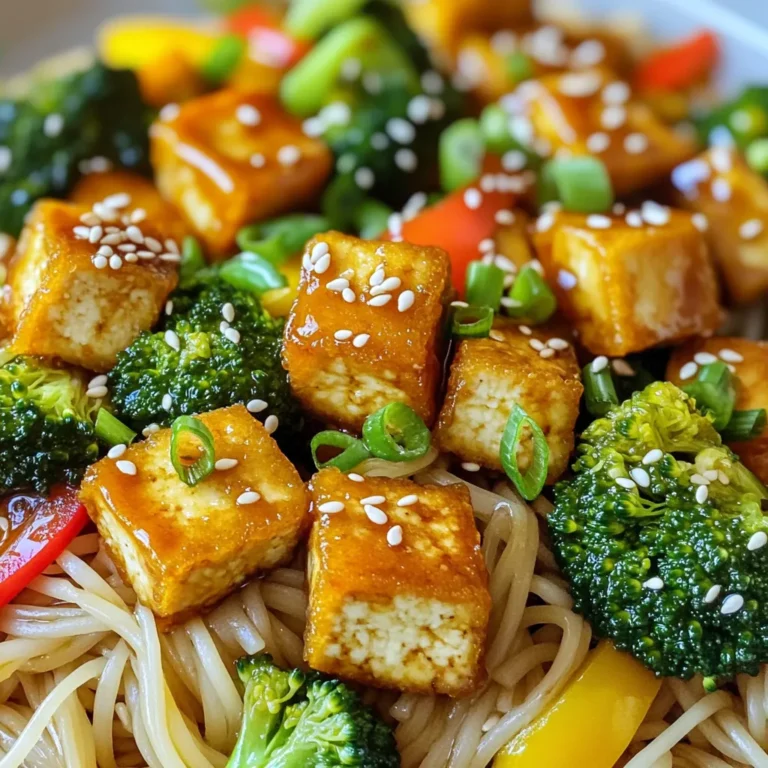
Minute Crispy Teriyaki Tofu Noodles Quick Recipe
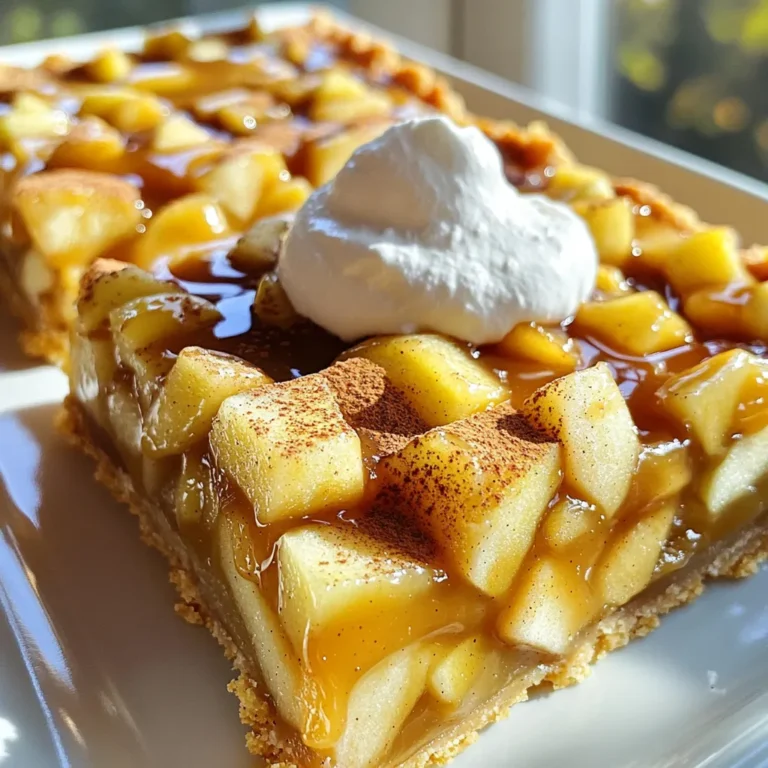
Caramel Apple Pie Bars Indulge in Sweet Flavor
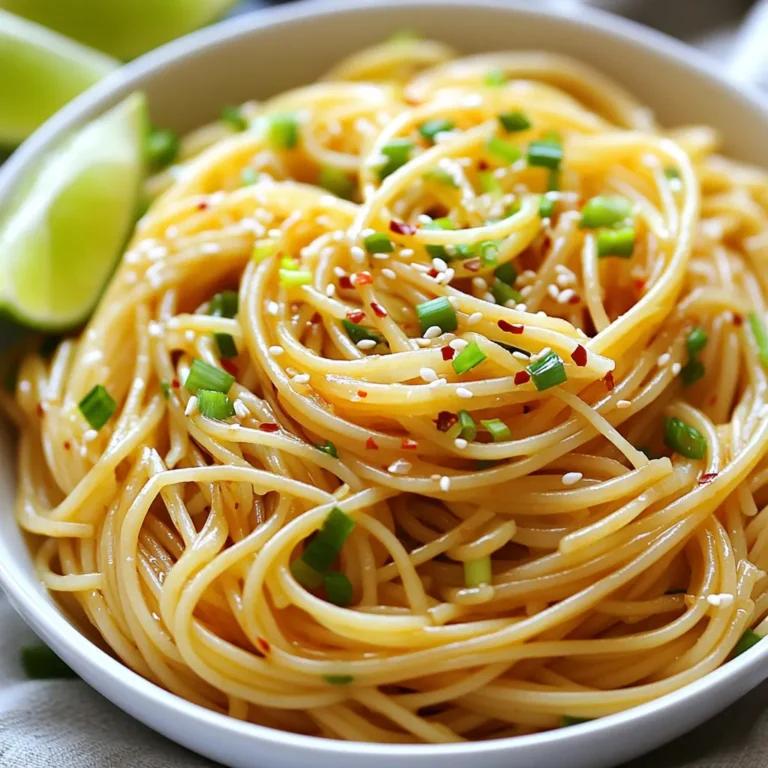
Vegan Garlic Noodles Simple and Flavorful Meal
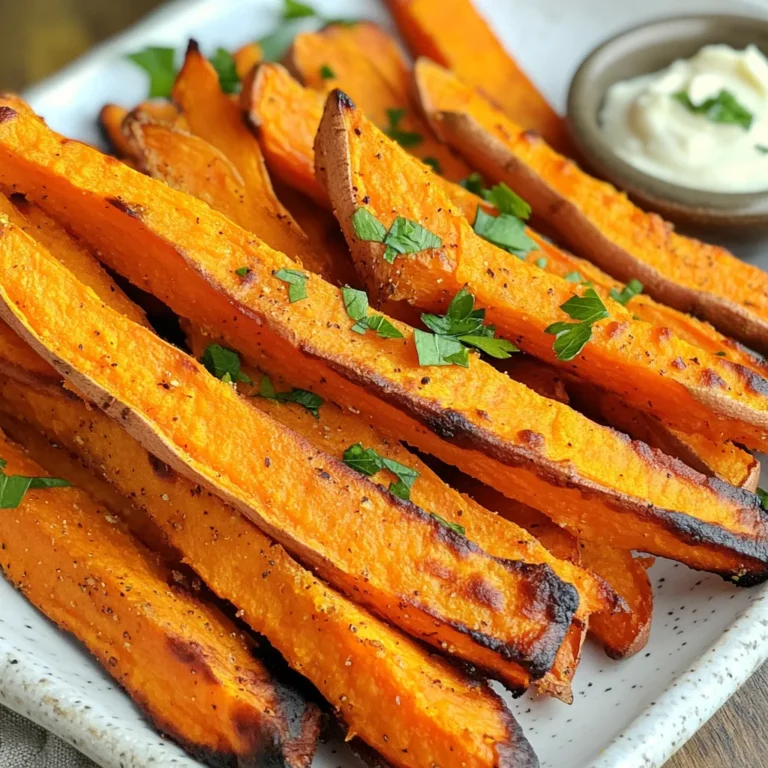
Air Fryer Sweet Potato Fries Crispy and Flavorful Snack
PREV
1
…
3
4
5
…
20
NEXT