FREE DINNER EBOOK!
Get your copy!
Cookie Policy
GDPR Policy
Disclaimer
Terms Of Use
Visit my other site:
Fun Cookie Recipes
Home
Dinner
Desserts
Drinks
Appetizers
Contact
About
Privacy Policy
Home
Dinner
Desserts
Drinks
Appetizers
Contact
About
Privacy Policy
Cookie Policy
GDPR Policy
Disclaimer
Terms Of Use
Visit my other site:
Fun Cookie Recipes
HOME / CATEGORIES /
Latest
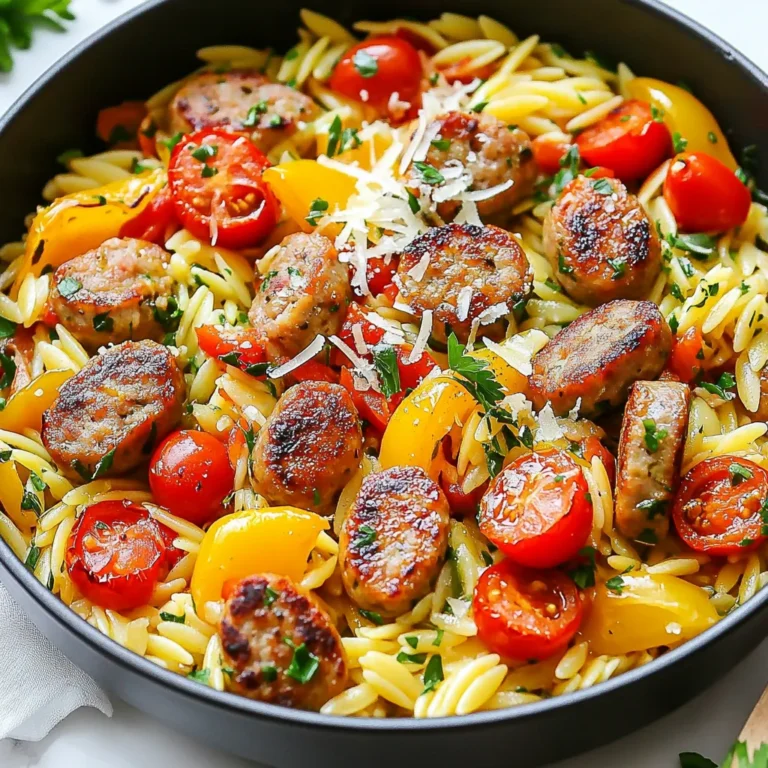
One-Pot Garlic Butter Sausage Orzo Quick and Easy Meal
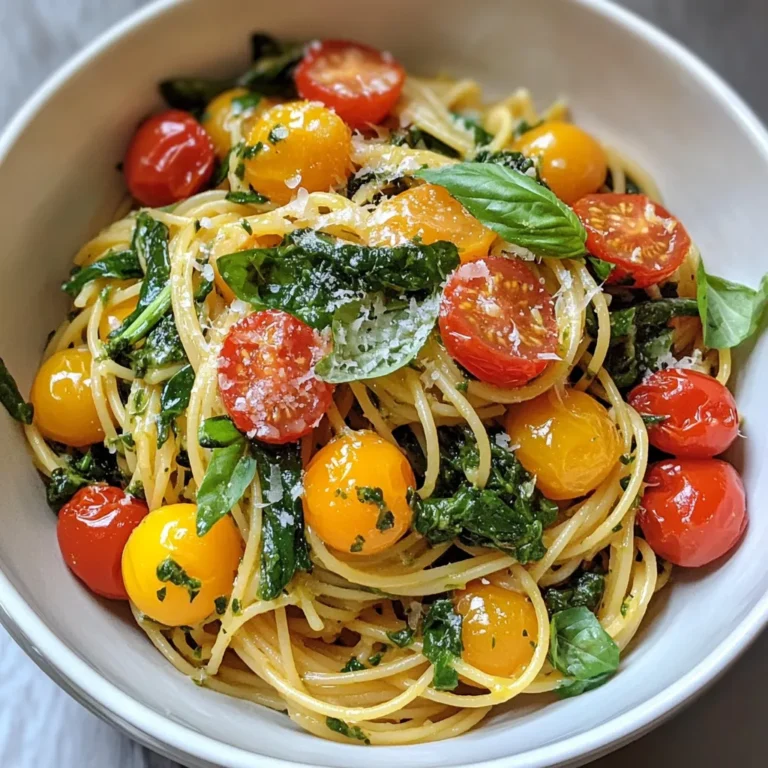
Spinach Tomato Pasta Simple and Flavorful Recipe
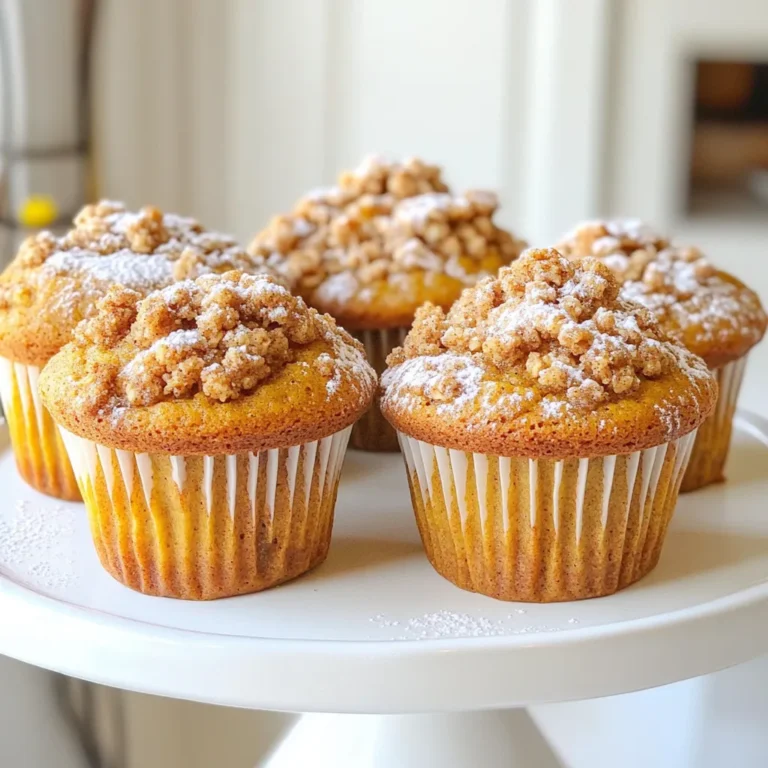
Pumpkin Streusel Coffee Cake Muffins Tasty and Easy
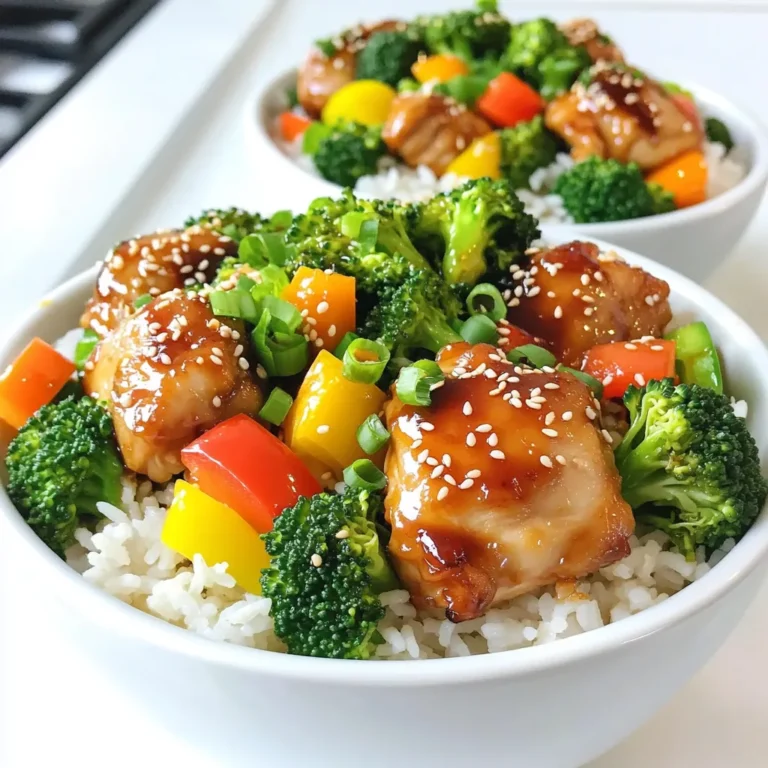
Minute Teriyaki Chicken Bowls Quick and Tasty Meal
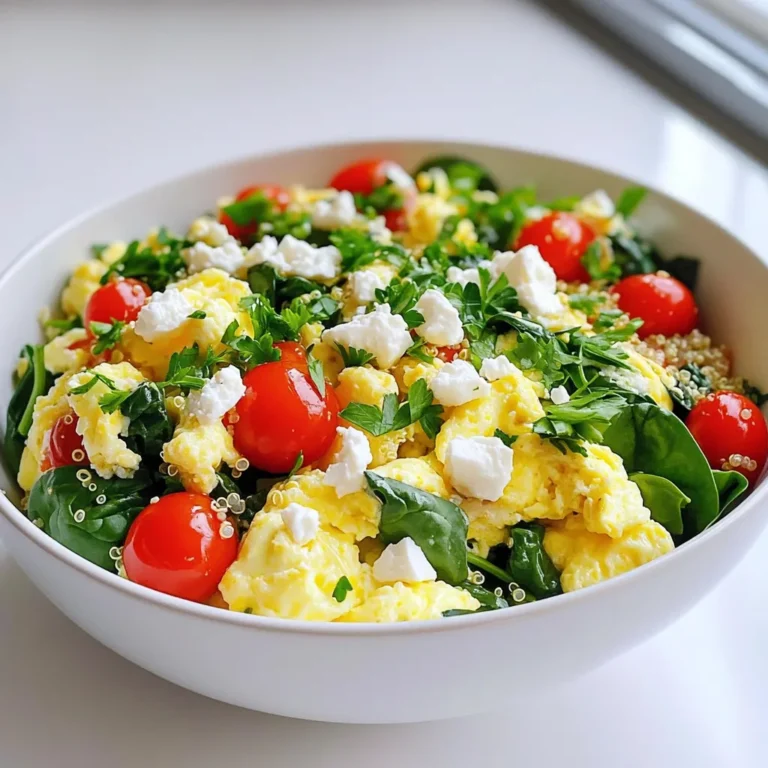
High Protein Egg White Scramble Bowls for Breakfast
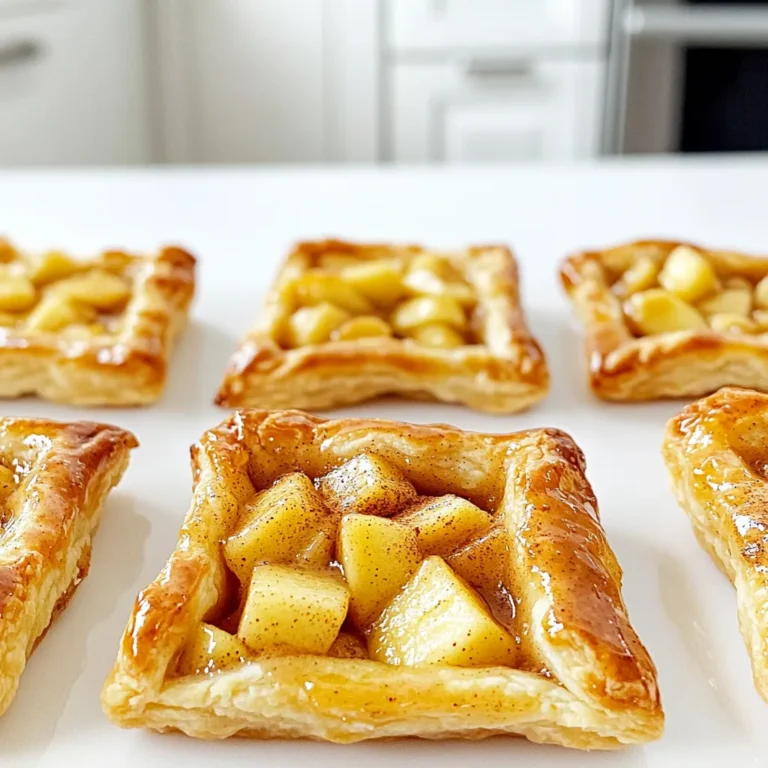
Apple Cinnamon Pop Tarts Tasty and Easy Recipe
Apple Cider Donuts Cinnamon Sugar Irresistible Treat
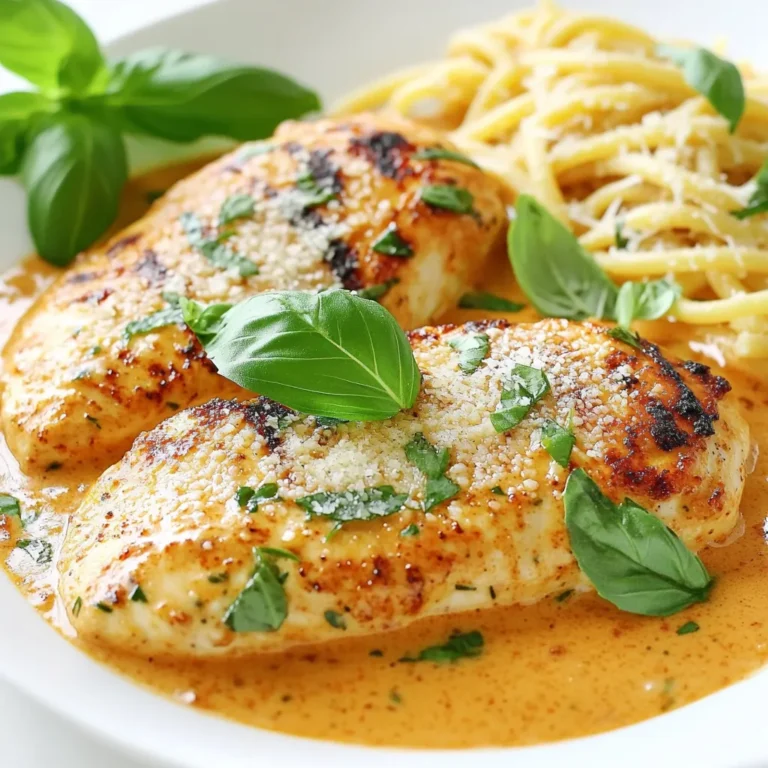
Creamy Tomato Parmesan Chicken One Pot Delight
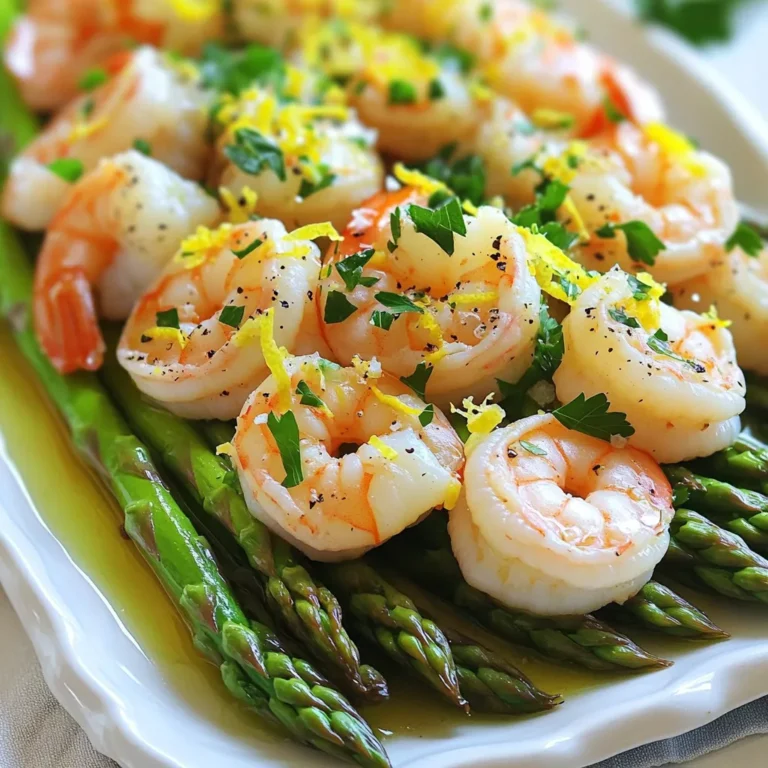
Lemon Pepper Shrimp & Asparagus Sheet-Pan Delight
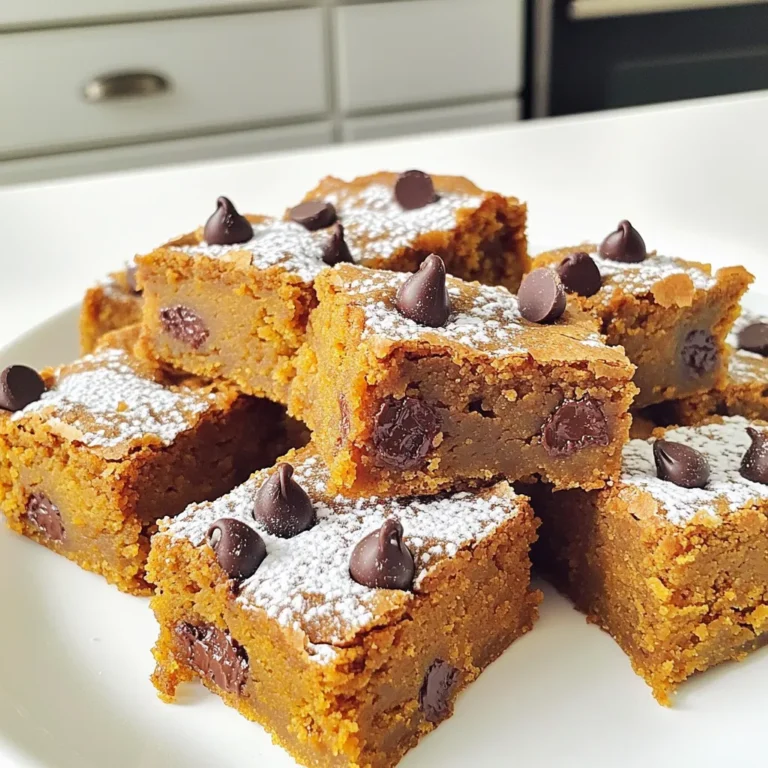
Brown Butter Pumpkin Blondies Delicious Fall Treat
PREV
1
2
3
…
20
NEXT