FREE DINNER EBOOK!
Get your copy!
Cookie Policy
GDPR Policy
Disclaimer
Terms Of Use
Visit my other site:
Fun Cookie Recipes
Home
Dinner
Desserts
Drinks
Appetizers
Contact
About
Privacy Policy
Home
Dinner
Desserts
Drinks
Appetizers
Contact
About
Privacy Policy
Cookie Policy
GDPR Policy
Disclaimer
Terms Of Use
Visit my other site:
Fun Cookie Recipes
HOME / CATEGORIES /
Latest
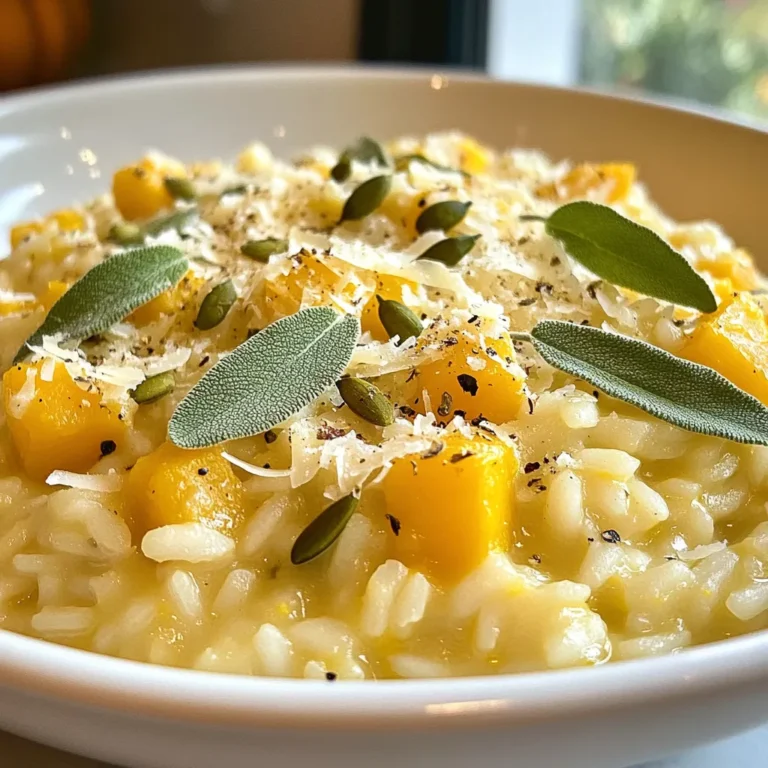
Butternut Squash Sage Risotto Creamy Comfort Dish
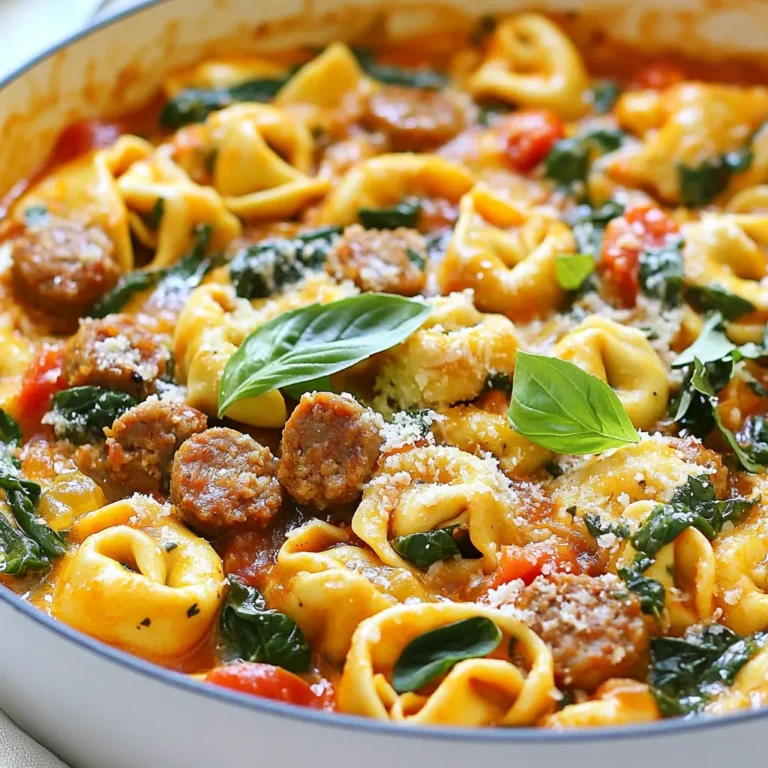
Hearty One Pan Tortellini with Sausage Dinner
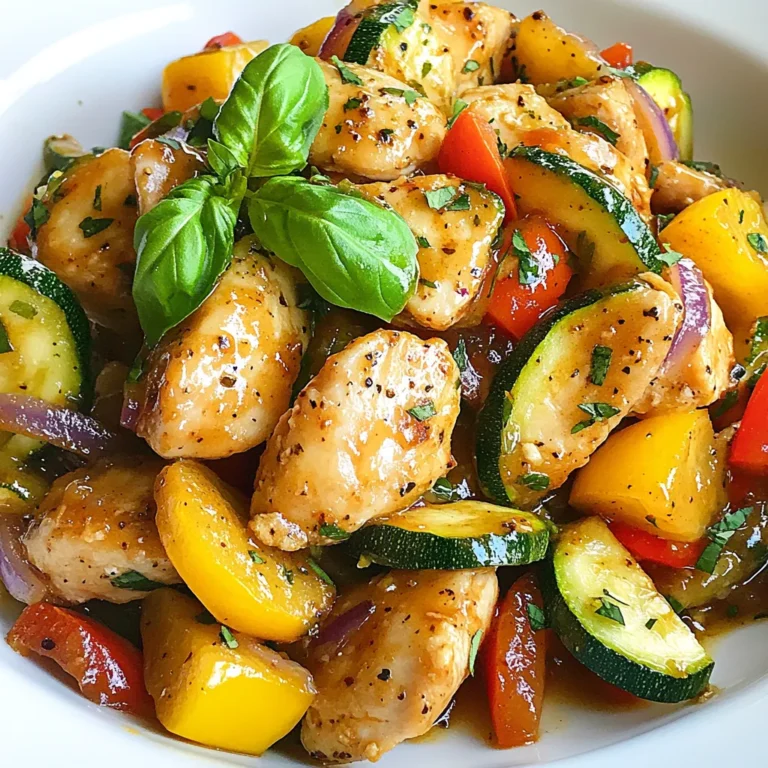
Flavorful Chicken Zucchini Skillet Easy Dinner Recipe
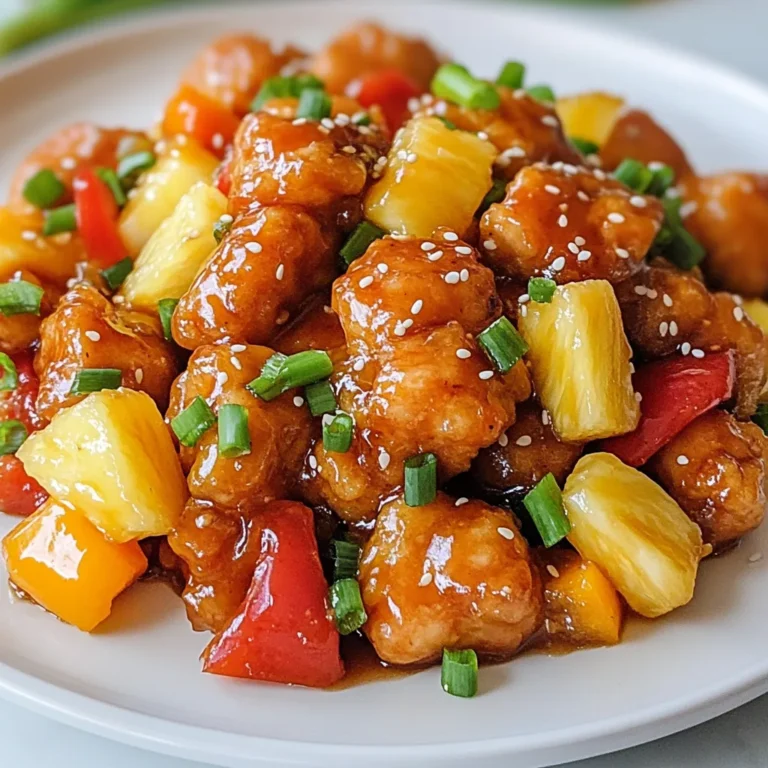
Sweet and Sour Chicken Better Than Takeout Tonight
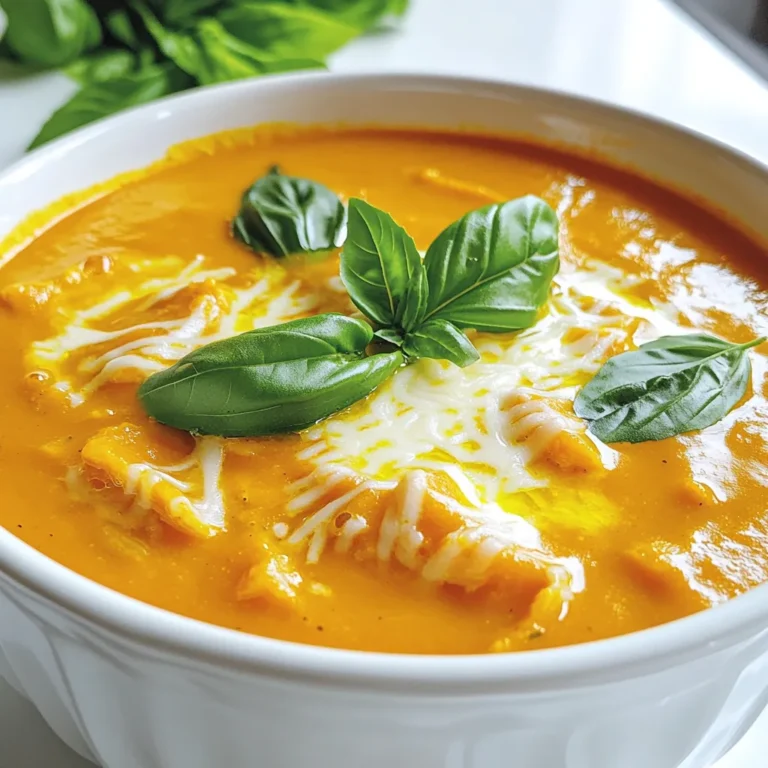
Chickpea Tomato Soup Hearty and Flavorful Delight
Fluffy Croissants That Inspire Joyful Baking
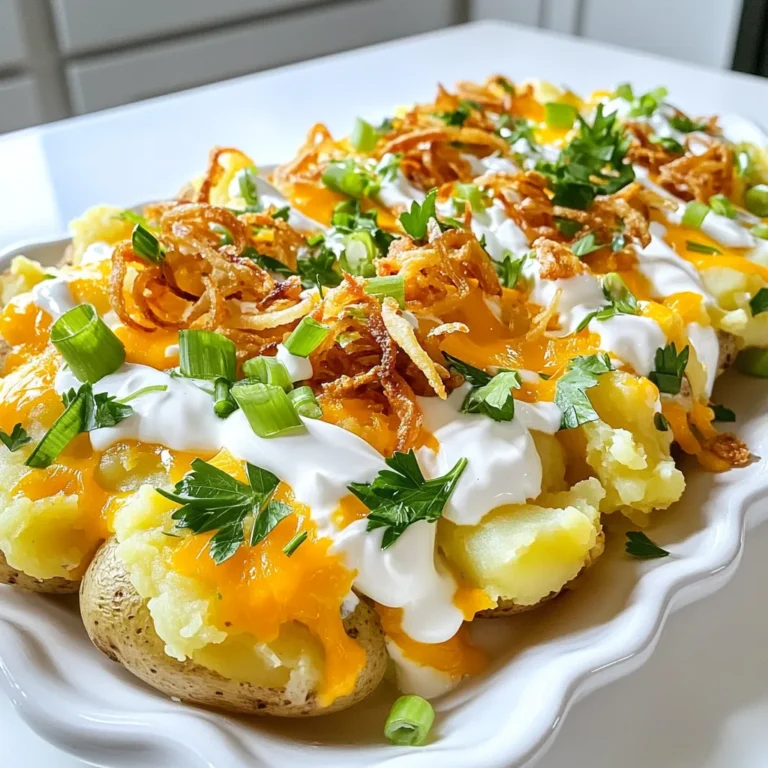
Loaded Smash Potatoes for a Crispy Side Dish
Slow Cooker Pumpkin Lasagna Soup Comforting and Easy
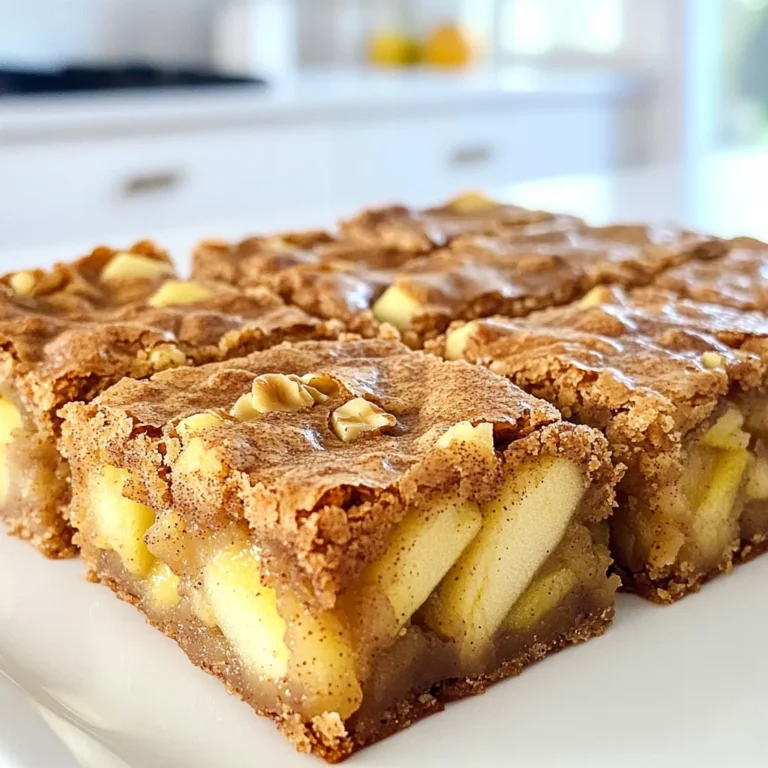
Brown Butter Apple Blondies Irresistible Dessert Treat
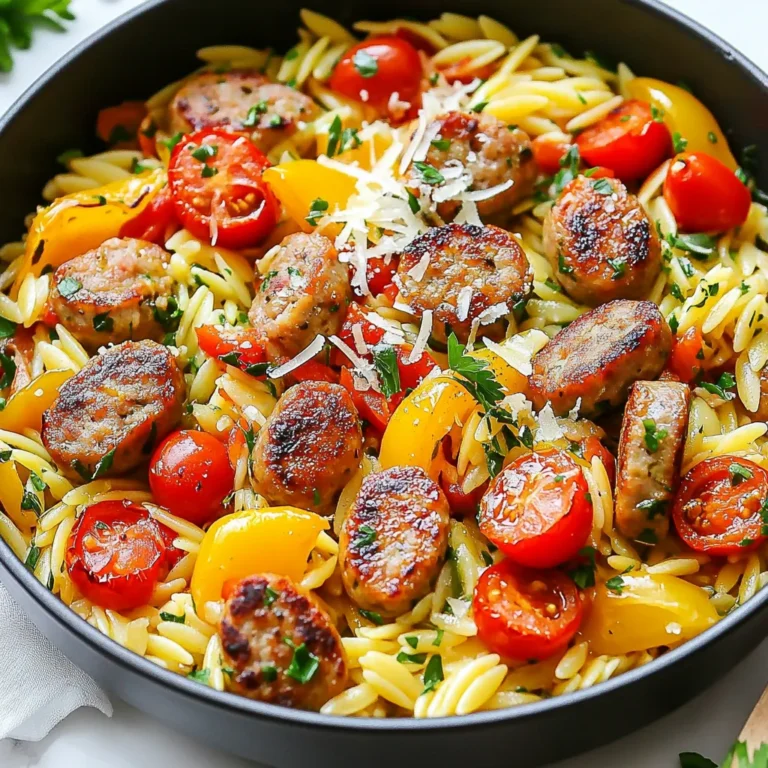
One-Pot Garlic Butter Sausage Orzo Quick and Easy Meal
1
2
…
19
NEXT