
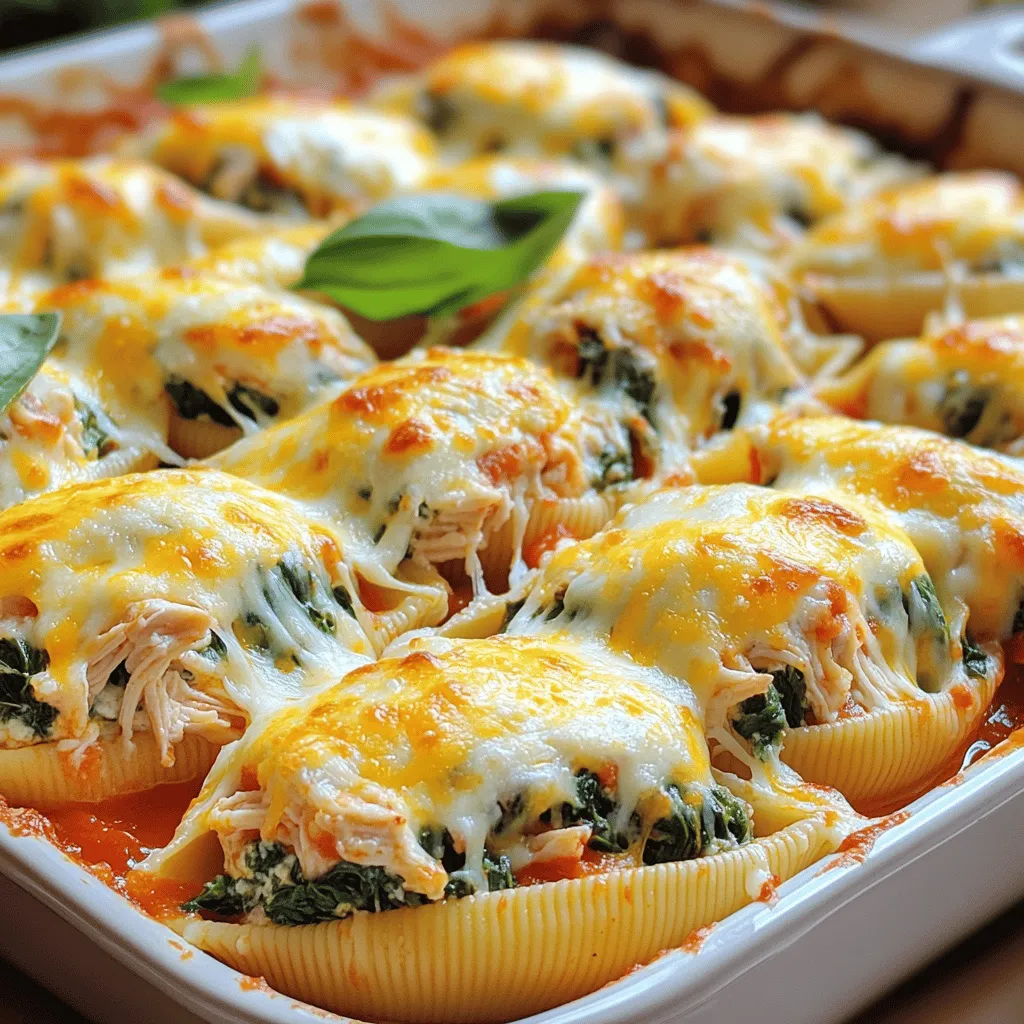
Looking for a delicious meal that’s easy to make? Chicken and Spinach Stuffed Shells are your answer! These cheesy pasta shells pack a punch of flavor and are perfect for dinner any night of the week. With just a few simple ingredients, you can whip up a dish that the whole family will love. Let’s dive in and get cooking!
Ingredients
Here’s what you need for the chicken and spinach stuffed shells. Gather these items before you start cooking:
– 20 jumbo pasta shells
– 2 cups cooked chicken, shredded
– 1 cup ricotta cheese
– 1 cup shredded mozzarella cheese, divided
– 1 cup fresh spinach, finely chopped
– 1/2 cup grated Parmesan cheese
– 1 garlic clove, minced
– 1 teaspoon Italian seasoning
– 1/2 teaspoon salt
– 1/4 teaspoon black pepper
– 1 cup marinara sauce
– Fresh basil leaves for garnish (optional)
Each ingredient plays a key role in making this dish tasty. The jumbo pasta shells hold the filling well. Shredded chicken adds protein and flavor. Ricotta and mozzarella cheeses give a creamy texture. Fresh spinach not only adds color but also boosts nutrition. Seasoning enhances the taste, bringing everything together.
Make sure to use quality ingredients. They will elevate your dish. Feel free to add your favorite herbs or spices to the mix. Cooking should be fun and creative!
Step-by-Step Instructions
Preparing the Pasta Shells
First, preheat your oven to 375°F (190°C). This step helps cook the shells evenly. Next, boil a large pot of salted water. When the water boils, add 20 jumbo pasta shells. Cook them for about 8-10 minutes, or until they are al dente. I recommend stirring them gently so they don’t stick. After cooking, drain the shells in a colander. Place them on a plate to cool. This keeps them from sticking together.
Making the Filling
In a large mixing bowl, combine the filling ingredients. Add 2 cups of shredded cooked chicken, 1 cup of ricotta cheese, and half of the shredded mozzarella cheese. Next, add 1 cup of finely chopped spinach, 1/2 cup of grated Parmesan cheese, and 1 minced garlic clove. Sprinkle in 1 teaspoon of Italian seasoning, 1/2 teaspoon of salt, and 1/4 teaspoon of black pepper. Mix everything well with a spatula. You want all the flavors to blend nicely.
Now, take each cooled shell and fill it with about 2 tablespoons of the chicken mixture. Use a spoon to pack the filling gently into each shell. Make sure they are full, but don’t overstuff them.
Assembling and Baking
For the next step, prepare your baking dish. Pour 1/2 cup of marinara sauce into the bottom. Spread it evenly to create a nice base. Now, arrange the stuffed shells in the dish, seam side up. This helps them stay together while cooking. Once all the shells are in place, pour the remaining marinara sauce over them.
Sprinkle the rest of the shredded mozzarella cheese on top. This will give your dish a cheesy finish. Cover the dish with aluminum foil. This step helps keep moisture in while baking. Bake it in the oven for 25 minutes.
After 25 minutes, remove the foil. Return the dish to the oven and bake it for another 10-15 minutes. Look for the cheese to melt and bubble, turning a lovely golden color. Once done, take the dish out of the oven. Let it rest for a few minutes before serving. If you like, add fresh basil leaves on top for a nice touch.
Tips & Tricks
Perfecting the Dish
To cook your shells just right, follow these tips:
– Boil in Salted Water: Use a big pot with salt to add flavor. It helps the shells taste better.
– Don’t Overcook: Cook the shells until they are al dente, about 8-10 minutes. This keeps them firm and easier to fill.
– Cool Properly: After cooking, drain and spread the shells out. This stops them from sticking together.
For cheese that melts perfectly:
– Use Fresh Cheese: Fresh mozzarella melts smoothly. It gives a great texture.
– Cover with Foil: When baking, cover the dish with foil for the first part. This keeps moisture in for melting.
Flavor Enhancements
To boost the flavor, consider adding these herbs and spices:
– Basil: Fresh or dried basil adds a sweet taste.
– Oregano: This herb gives a nice, earthy flavor.
– Red Pepper Flakes: For some heat, add red pepper flakes to the mix.
Choosing the right marinara sauce is key:
– Homemade Sauce: If you have time, make your own. It enhances the dish.
– Store-Bought Options: Look for sauces that say “natural.” They usually taste better.
Serving Suggestions
For side dishes, try these:
– Garlic Bread: A crunchy side that pairs well with the stuffed shells.
– Salad: A fresh green salad adds a nice crunch and balances the meal.
Garnishing techniques can elevate your dish:
– Fresh Basil: Add basil leaves on top for a pop of color.
– Parmesan Shavings: Sprinkle some Parmesan for extra flavor and elegance.

Variations
Alternative Fillings
You can switch chicken for other proteins. Try shredded turkey or ground beef. Both options add a unique twist to the dish. For a lighter choice, use cooked shrimp.
If you prefer a meat-free option, go for a vegetarian stuffed shell. Replace chicken with mushrooms or zucchini. You can also use beans for added protein. Mix in more spinach and some artichoke hearts for extra flavor.
Different Sauces
While marinara sauce is classic, you can explore other sauces too. A creamy Alfredo sauce provides a rich and smooth taste. You could also try pesto for a fresh and herby flavor.
Tomato-based sauces add acidity and brightness. Creamy sauces are richer and more filling. Both options work well with stuffed shells, so choose your favorite.
Cheese Options
Cheese is key to flavor in stuffed shells. Mozzarella is great for melting, while Parmesan adds depth. You can swap mozzarella for provolone or fontina for a different taste.
If you want to go dairy-free, vegan cheese works. Look for options made from nuts or soy. Nutritional yeast adds a cheesy flavor too. Experiment with different cheeses to find what you love most.
Storage Info
Storing Leftovers
After you enjoy your chicken and spinach stuffed shells, let them cool down. This step is key to keeping your food safe. Use an airtight container to store any leftovers. Glass or plastic containers work well. You can keep them in the fridge for up to three days.
Reheating Instructions
To reheat your stuffed shells, the oven works best. Preheat it to 350°F (175°C). Place the shells in a baking dish and cover them with foil. This keeps them moist. Heat for about 20 minutes or until they are warm inside. You can also use a microwave, but be careful not to overcook them.
Freezing for Later
If you want to save your stuffed shells for later, freezing is a great option. First, cool them completely. Then, wrap each shell in plastic wrap. Place the wrapped shells in a freezer bag. Make sure to remove all the air. They can stay in the freezer for up to three months. When you are ready to eat, thaw them overnight in the fridge. Bake them at 350°F (175°C) for about 30 minutes. Enjoy your delicious meal again!
FAQs
Common Questions
How do I make chicken and spinach stuffed shells from scratch?
To make chicken and spinach stuffed shells, start by cooking jumbo pasta shells. Boil them until they are al dente. In a bowl, mix cooked chicken, ricotta cheese, spinach, and spices. Fill each shell with the mixture, then place them in a baking dish. Top with marinara sauce and mozzarella cheese. Bake at 375°F for about 35-40 minutes.
Can I use pre-cooked rotisserie chicken?
Yes, you can use pre-cooked rotisserie chicken. It saves time and adds great flavor. Just shred the chicken and add it to your filling mix.
How long do stuffed shells last in the fridge?
Stuffed shells last about 3-5 days in the fridge. Make sure to store them in an airtight container to keep them fresh.
Can you make stuffed shells ahead of time?
You can make stuffed shells ahead of time. Prepare and fill them, then cover and refrigerate. Bake them when you are ready to serve.
What can I substitute for ricotta cheese?
You can substitute ricotta cheese with cottage cheese or cream cheese. For a dairy-free option, try silken tofu blended until smooth.
This blog post shared a tasty recipe for chicken and spinach stuffed shells. We covered the key ingredients, preparation steps, and tips for perfecting this dish. You can also explore various filling options and sauce alternatives. Storing and reheating leftovers is easy, too!
Enjoy making this dish for family or friends. It’s sure to please everyone at the table. Get creative with flavors, and don’t forget to have fun in the kitchen!
